On this page
If you’re developing iOS apps on a Windows computer, you might’ve felt stuck – Apple’s tools for iOS development only work on Macs. So, no Xcode, no iOS Simulator, and no easy way to test your app unless you switch to a Mac.
But not every developer has access to a Mac. Many teams, students, and indie creators use Windows. This is why the idea of having an iOS simulator for Windows or figuring out how to develop iOS apps without Mac has become popular.
The good news is that even though Apple keeps things pretty tight, there are ways to:
- Preview how your iOS app looks
- Test your app’s layout and navigation
- Debug any issues
- Simulate gestures and hardware features without needing a Mac
In this guide, we’ll look at the best ways to simulate iOS on Windows, go over the benefits and downsides of each, and find the best way to do iOS app testing without Mac hardware, especially if you want to use the real Xcode simulators on a PC.
The short answer
Apple ships the iOS Simulator only inside Xcode, and Xcode runs only on macOS. No real iOS simulator installs on Windows. The reliable path is a rented cloud Mac, where you run the actual Xcode iOS Simulator and stream it to your PC.
Why is Building iOS Apps on Windows Difficult?
Simulating iOS on Windows isn’t easy. Apple limits its development tools, so you can only use tools like Xcode and the iOS Simulator on macOS.
Even though developers often search for an iOS simulator for Windows or an iPhone simulator for Windows, but these alternatives usually don’t work as well as Apple’s official tools. Searches for an iPhone simulator for Windows hit the same wall: Apple ships the simulator only inside Xcode on macOS. Here’s why:
- Xcode only works on macOS – You can’t install Xcode on a Windows PC, which means you miss out on the iOS Simulator that comes with it.
- Limited features – Most Windows simulators just mimic the user interface. They can’t emulate how an app interacts with hardware like GPS, cameras, or fingerprint scanners.
- Legal issues – Many unofficial options, including virtual machines, break Apple’s End User License Agreement (EULA), which makes them not ideal for developing apps for the App Store or working in teams.
While some developers try using Android-type simulators or browser-based tools, these often aren’t enough to test an iOS app on Windows, especially for tasks like debugging or checking how the app performs on real devices.
What you can and can’t test on a simulator
The iOS Simulator can fake Face ID, Touch ID and location, but it cannot use the real camera, accelerometer, barometer or magnetometer. So hardware features still need a real device or a real Mac, even when everything else runs fine on screen. Knowing the line helps you plan what to test where.
Here is the split, as of 2026:
- Can be simulated (since Xcode 9): Face ID, Touch ID, and location. You set them from the simulator menu, no real sensor needed.
- Cannot be simulated: the real camera, accelerometer, barometer, and magnetometer. Anything that reads those needs a physical iPhone.
There is also an official “simulator in Windows” many people search for. Microsoft’s Remote iOS Simulator for .NET MAUI shows an iOS simulator window inside Visual Studio 2022 on Windows, but it still pairs to a Mac build host to do the actual work, and sound plays only from that Mac. So even the official Windows tool ends up needing a Mac behind it.
The same catch applies to cross-platform frameworks. React Native, Flutter, and .NET MAUI let you write the app on Windows, but the final iOS build and the App Store submit still run on macOS with a current Xcode.
Apple’s own developer forums say it plainly: Xcode is supported only on macOS, so you can’t run it on a PC. That is also why an install Xcode on Windows search always leads back to a real Mac, and why a rented one is the simplest fix for Swift development on Windows.
3 Ways to Run an iOS Simulator on Windows
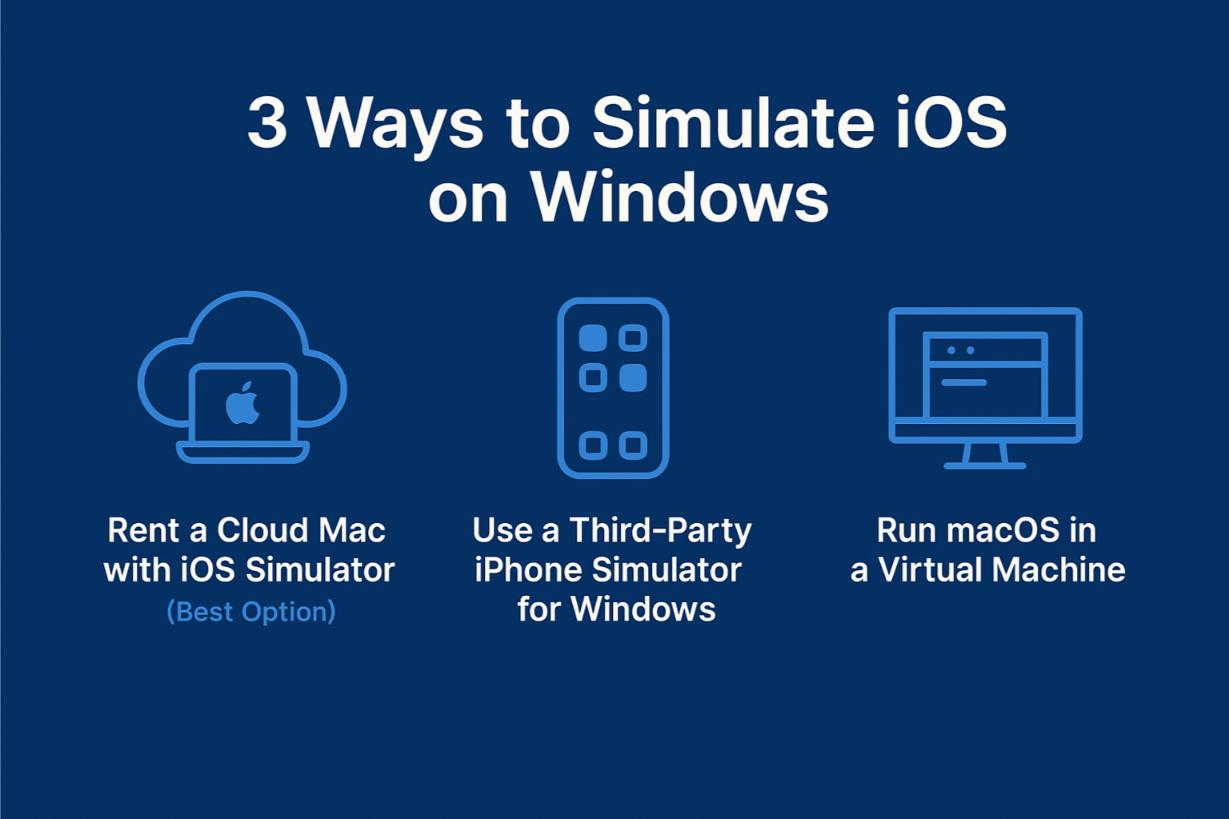
To run iOS on a Windows computer, you can:
1. Rent a cloud Mac to access a real iOS Simulator.
2. Check out third-party iPhone simulators that run in your browser.
3. Set up macOS in a virtual machine.
Here are the pros and cons for each option. If you want an iOS simulator for PC, keep in mind that none of these run iOS natively on Windows; only a real Mac does.
First, a quick word on names, because it trips up most searches. A simulator runs your app in a software-only iOS environment, the kind Xcode ships. A true emulator would also copy the iPhone’s hardware.
So when people ask how to emulate iOS on Windows, the honest answer is that real iOS emulators do not exist on a PC. That is why the reliable path is real macOS, not an “emulator” you download.
1. Rent a Cloud Mac with iOS Simulator (Best Option)
This is by far the most reliable choice. With Rentamac.io, you can rent a real Mac online and access it from your Windows computer. Once you’re in, you can use Xcode and the official iOS Simulator that Apple developers work with.
You’re not just using a cheap knockoff – you’re working with the real deal. That makes this option great for iOS app testing without a Mac.
Why it works:
- Full access to the iOS Simulator in Xcode
- Works with Swift, Flutter, React Native, and Objective-C
- You can test layouts, performance, gestures, and any device-specific issues
- Complies with Apple’s guidelines
- Ideal for developers wanting the real iOS simulator experience on Windows.
2. Use a Third-Party iPhone Simulator for Windows
Some tools try to fill the gap by offering an iPhone simulator for Windows. The current ones are browser-based cloud simulators: you open a page, pick a device, and see your app’s screen without installing anything. As of 2026 they advertise wide coverage, roughly iPhone 6 through iPhone 17 Pro Max, iOS 9 through iOS 26, and geolocation across 170+ countries.
Why it works:
- Simulates the user interface and fundamental interactions
- Useful for quick previews of the layout
- No need for macOS
Limitations:
- Doesn’t have access to native features
- Lacks real iOS Simulator capabilities
- Can’t submit to the App Store or test natively
- Good for quick demos or minor tweaks, but not for thorough testing.
So a browser simulator is fine for a fast layout check. For an actual build and test, you still want a real Mac, which is exactly the path covered in our guide to run iOS apps on Windows.
3. Run macOS in a Virtual Machine
Some developers try to set up macOS on a Windows virtual machine using tools like VirtualBox or VMware. While this might let you install Xcode, it comes with major downsides.
Limitations:
- Chances are high that it might break Apple’s license rules
- Tends to be unstable and not work well
- Often incompatible with the latest versions of Xcode
If you want to do proper iOS app testing without a Mac, this isn’t the best way to go. For basic use cases, some still try to run iOS apps on Windows using emulation layers, though these rarely offer reliable results.
Why Rentamac.io Is The Best Choice
If you’re looking to dive into iOS development and want to skip the dodgy workarounds, Rentamac.io is the way to go to simulate iOS on Windows – in a legit way.
Unlike those third-party emulators or sketchy web tools, Rentamac.io connects you to real macOS hardware. So, instead of pretending, you’re actually using Apple’s tools right from your Windows machine.
Once you’re set up, you can install Xcode, fire up the real iOS Simulator, and get to work just like you would on a Mac. It’s the best way to experience the iOS simulator for Windows without breaking any rules.
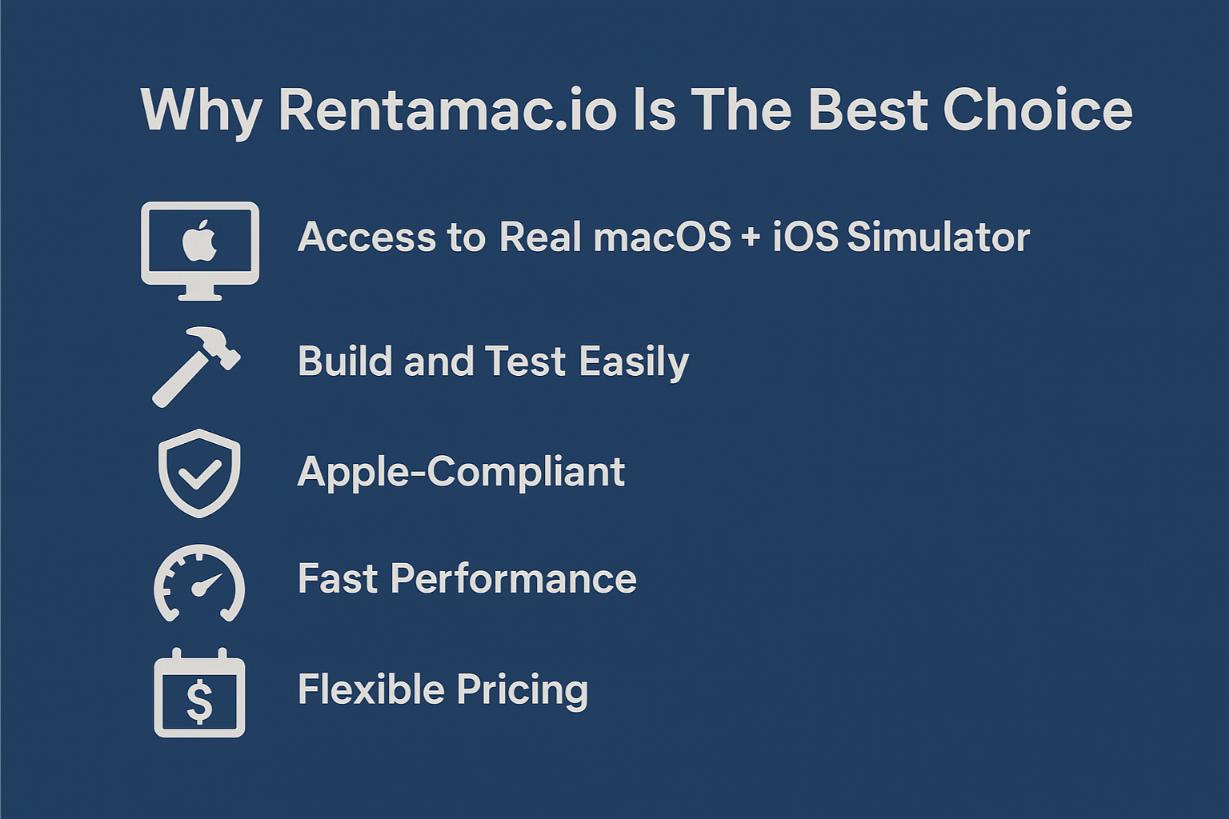
Here’s what makes Rentamac.io a good choice:
- Access to Real macOS + iOS Simulator – you’re in Apple’s official setup, not stuck with some limited emulator.
- Build and Test Easily – works well with React Native, Flutter, Swift, and Objective-C projects.
- Apple-Compliant – unlike virtual machines or Hackintosh setups, Rentamac.io obeys Apple’s rules.
- Fast Performance – each instance is a dedicated Mac Mini M4 with 16GB RAM, a 256GB SSD, and macOS Tahoe 26.4+, so builds are quick and the simulator runs smoothly.
- Flexible Pricing – Rent by the day, week, or longer. No need to buy an expensive Mac upfront.
How to Simulate iOS Using Rentamac
Using Rentamac.io is straightforward. You won’t need to set up any virtual machines or search for unreliable emulators. Just follow these steps to simulate iOS on Windows using the official tools right from your PC.
Step 1: Choose a Plan and Payment Option
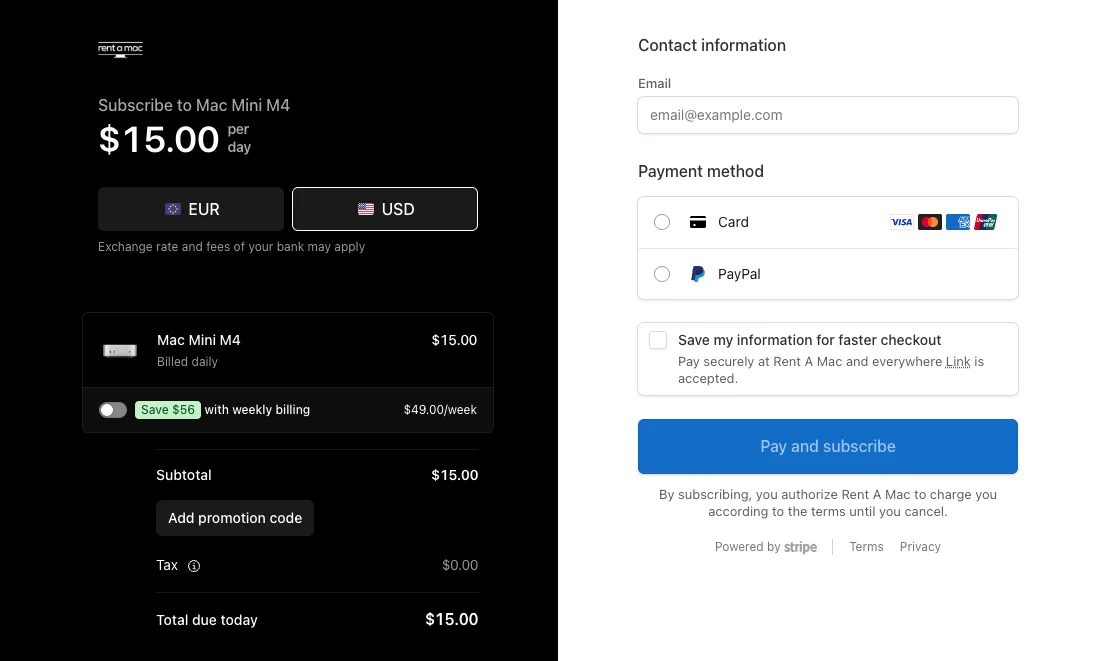
First, go to the pricing page and pick a plan that fits your needs. Once you make your choice, you’ll go to a secure Stripe checkout page where you can pay with a Visa or Mastercard card, or with PayPal. Access is immediate once the payment goes through.
Step 2: Connect to Your Mac Mini
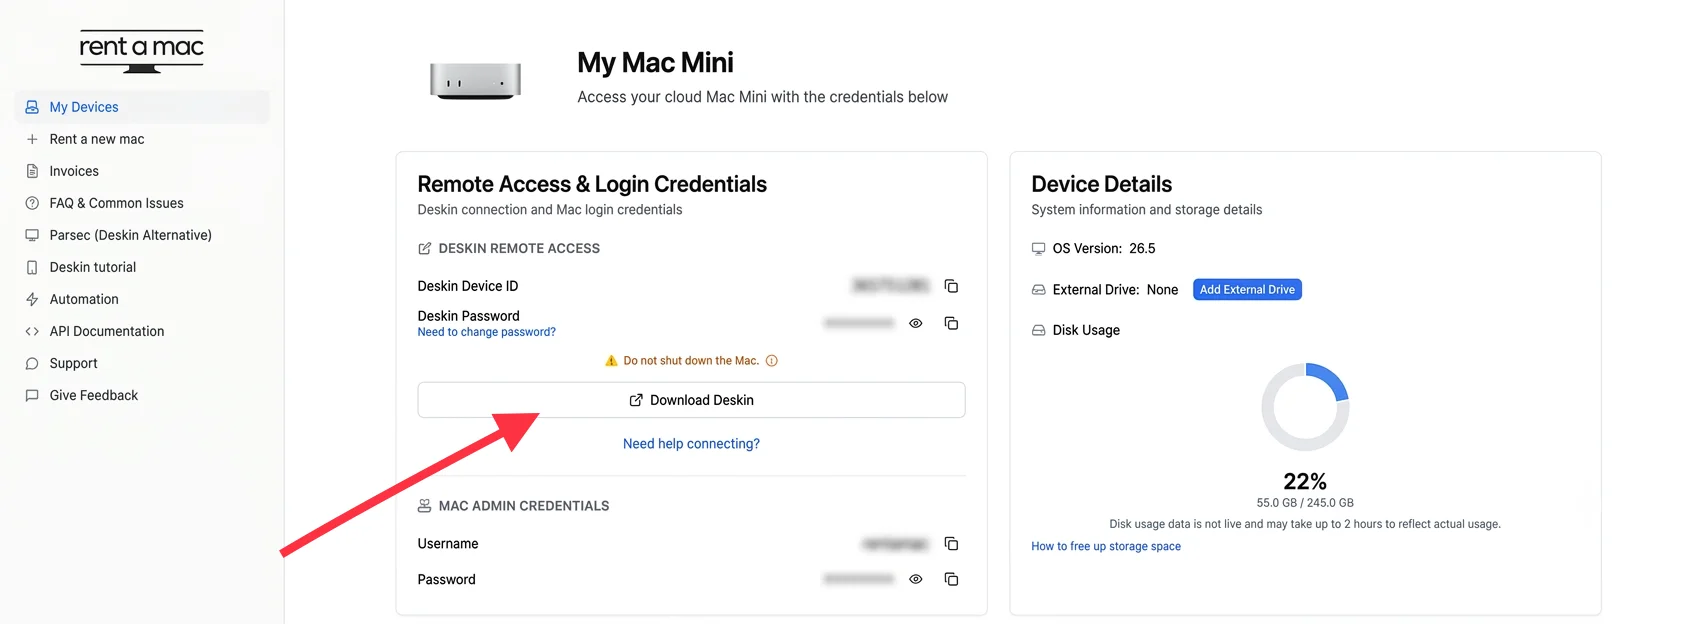
After you finish checking out, you’ll get your remote login details, including the Mac login info shown in your dashboard.
Remote access uses DeskIn, a remote desktop app that is already installed and free on your rented Mac, so there is nothing to download. Open DeskIn from your Windows PC, enter the connection details from the dashboard, and you’re in. If the connection ever drops, there is a “Restart DeskIn” button in the dashboard to bring it back.
Step 3: Install Xcode and Launch the iOS Simulator
If Xcode isn’t already on your Mac, open the Mac App Store and download the current Xcode 26.4.1, which bundles the latest iOS Simulator runtime and device profiles for the iPhone 17 lineup and iPad Pro M5. This gives you the real Xcode simulator on Windows, running on the rented Mac and streamed to your PC.
- Open your iOS project (like React Native, Swift, Flutter, etc.)
- Pick your device
- Run the app in the simulator and start testing right away
Step 4: Build, Test, and Export
- Debug in real time with Xcode’s tools
- Simulate conditions like location, orientation, etc.
- Archive and export your app as a .ipa file for TestFlight or to submit to the App Store
One reason the build step needs a current Mac: as of April 28, 2026, the App Store rejects any submission not built against the iOS 26 SDK, which ships with Xcode 26.x. A real, up-to-date Mac is the only way to meet that bar.
FAQs
Can I use the iOS simulator on Windows?
The official iOS Simulator only works on macOS as it’s part of Xcode. But you can use Rentamac.io to access it from your Windows PC by renting a real, dedicated Mac.
Are there legal iPhone simulators for Windows?
There are some third-party emulators out there, but they’re not official and have their limits. Rentamac.io offers a legal way to use Apple’s tools by renting a Mac in the cloud.
What’s the best way to test iOS apps without a Mac?
Using a cloud Mac through reliable providers like Rentamac.io. It lets you simulate, build, and test iOS apps right from your Windows system.