On this page
The short version
You can test and build iOS apps on Windows, but the build itself always needs real macOS. The most reliable path is a rented cloud Mac running Xcode, from $15 a day or $99 a month. There is no TestFlight client for Windows, and a free Apple ID is enough to test on your own iPhone (the paid $99/year Apple Developer account is only for App Store distribution).
If you’re developing mobile apps on a Windows PC, you’ve probably found it tough to test or build for iOS. That’s because Apple only lets Xcode – the official tool for iOS development – run on macOS.
So, if you don’t have a Mac, you can’t install Xcode, which makes testing iOS apps a challenge. Because of this, lots of teams have figured out ways to build iOS apps without a Mac.
Many developers around the world primarily use Windows. Whether you’re working on cross-platform apps with tools like React Native, Flutter, or Ionic, needing to test iOS apps on Windows is pretty common.
The good news is that while Apple has its rules, there are practical ways to test and even build iOS apps on Windows without needing a Mac. In this guide, we’ll look at the best options available, including the top choice for developers who want a full macOS experience on their PC.
Why is Building iOS Apps on Windows Difficult?
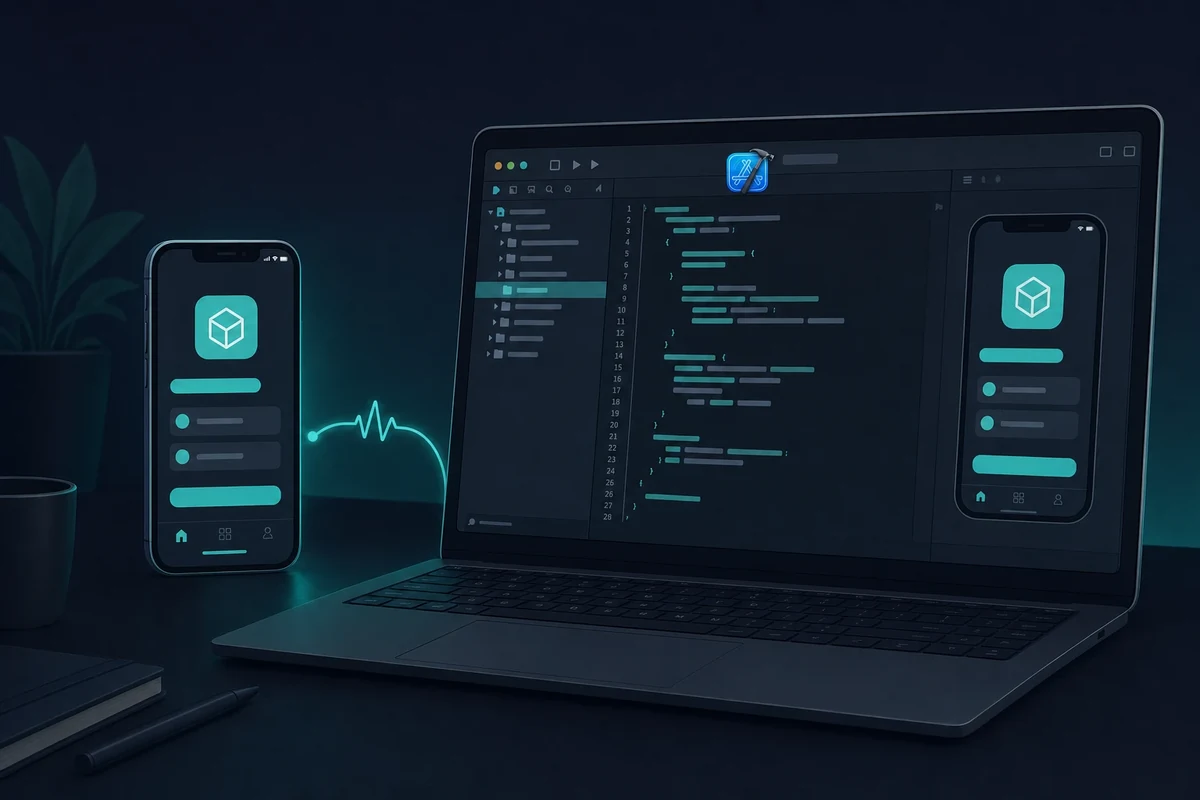
Apple keeps its development tools tight-knit. Xcode is the main program you need to create, run, and publish iOS apps, but it only works on macOS.
Even if you use cross-platform tools like React Native or Flutter, there’s a catch: you can’t run or compile iOS apps without macOS. This is true whether you’re testing out features, debugging, or getting your app ready for the App Store.
There is no way to run Xcode without a Mac on your own Windows machine, so the practical answer is a real Mac you reach remotely.
While there are some methods to simulate iOS on Windows, these typically fall short of offering a true development experience.
Some developers try to bypass this by using virtual machines or Hackintosh setups, but those come with some big issues:
- They go against Apple’s End User License Agreement.
- They can be unstable and slow, and usually don’t get support from Xcode updates.
- They won’t work for App Store submission.
So, while Windows is useful for development, it doesn’t provide the right tools to build or test iOS apps effectively. You can still build an iOS app on Windows without a Mac, but every reliable path routes the final build through real macOS, so the trick is reaching that Mac the right way.
3 Ways to Test iOS Apps on Windows
If you’re developing on Windows, you’ll run into Apple’s macOS requirement sooner or later. Testing iOS apps on Windows comes down to three reliable paths, and only one gives you the full Xcode experience to build iOS apps right from your Windows machine.
1. Use a Cloud Mac (Best Option – RentAMac.io)
The simplest way to test iOS apps without a Mac is to rent a real Apple device online.
With Rentamac.io, you can use a remote Mac setup with Apple Silicon and install Xcode to run iOS Simulators efficiently. It’s like working on a real Mac from your Windows computer.
Why it works:
- Full access to Xcode for building and testing iOS apps
- Real Apple hardware, no hacks or emulators needed
- Works with React Native, Flutter, Swift, and more
- Good for development, debugging, and App Store deployment
Whether you’re testing performance or want to build iOS apps on Windows, a rented cloud Mac takes five short steps to set up.
2. Use a Cloud Build Service
If you want automated builds, a cloud build service can compile iOS apps from your Git repo without a local Mac. You connect your repository, and the service builds on its own hosted Macs.
Why it works:
- Supports cloud-based iOS builds for Flutter, React Native, and native apps
- You can download your compiled .ipa file
- Works with GitHub, GitLab, Bitbucket
Limitations:
You won’t have a graphical interface or simulator, which isn’t the best option for hands-on testing.
Best for:
Teams that rely on automated processes and don’t need interactive testing.
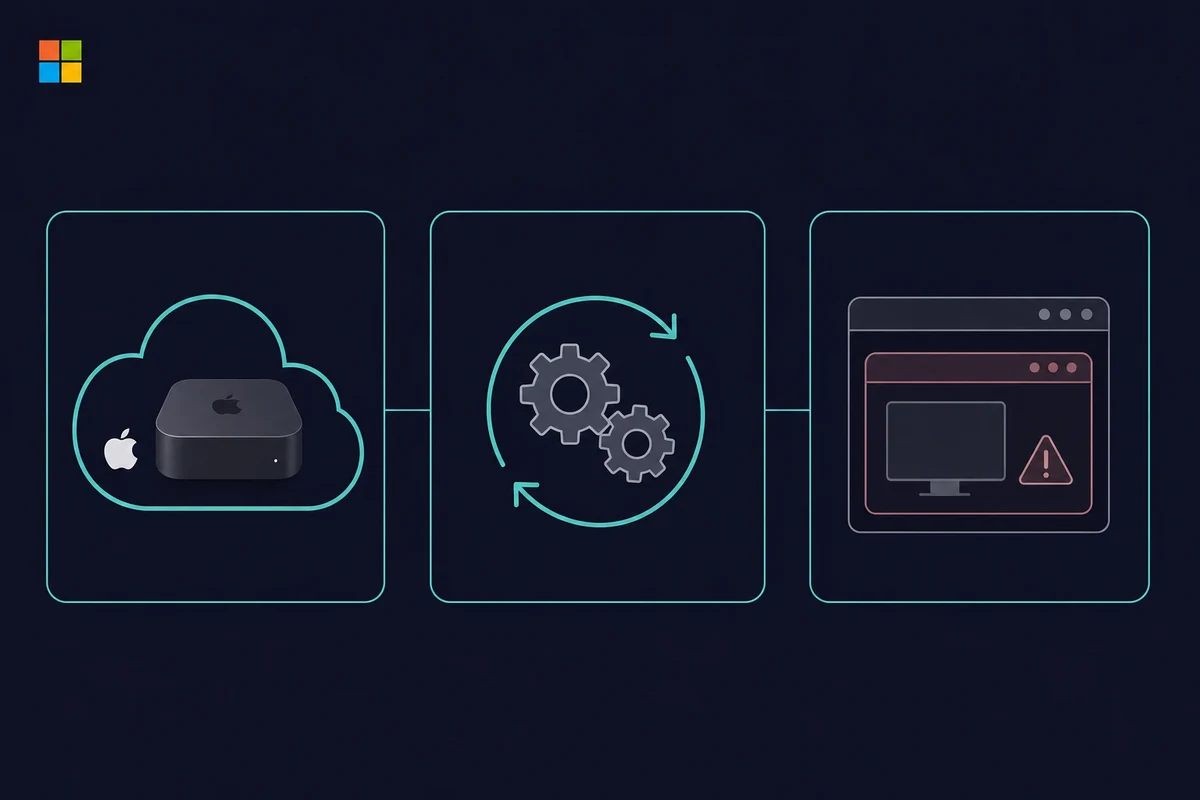
3. Use macOS in a Virtual Machine
Some developers try running macOS in VirtualBox or VMware to mimic a Mac environment.
Limitations:
- Breaks Apple’s license agreement
- Prone to bugs, crashes, and security issues
- Often doesn’t work with the latest Xcode versions
If you’re serious about building iOS apps, this isn’t the optimal way. It might waste your time and even lead to legal issues.
The three methods compared
The three Windows-friendly testing paths trade off control, cost, and legality. A rented cloud Mac gives you the full Xcode and Simulator experience. A cloud build service compiles your app remotely but gives no interactive simulator. And a local macOS virtual machine breaks Apple’s licence and tends to be slow and fragile.
Here is how the three stack up if you want to develop iOS apps on Windows without buying a Mac:
| Method | What you get | Rough cost | Legal and reliable |
|---|---|---|---|
| Cloud Mac (rented) | Full Xcode and Simulator, App Store deploy | From $15/day or $99/month | Yes, fully compliant |
| Cloud build service | A compiled .ipa, no GUI or simulator | Varies by service | Yes, but no interactive testing |
| macOS in a VM | A fragile macOS desktop | “Free” but heavy setup | No, breaks the Apple EULA |
A virtual machine looks free, but it wants around 16GB of RAM plus tens of gigabytes of disk, and it often breaks on the current Xcode release. For the paid hosted options, see our rundown of cloud Mac rental options.
Is TestFlight available on Windows?
No, there is no TestFlight for Windows. TestFlight is an Apple app that runs only on iOS, iPadOS, and macOS, so the download pages claiming otherwise are misleading. To upload a build to TestFlight or install a test build, you need a Mac, and the simplest one from a Windows PC is a rented cloud Mac running Xcode.
Some “TestFlight for PC” download pages even push an unrelated Android emulator instead of anything Apple, so skip them.
What you can actually do from Windows is reach a Mac remotely and drive the whole upload from there:
- Connect to a remote Mac and open your project in Xcode.
- Archive the app and upload the build to App Store Connect.
- Add and manage your testers in App Store Connect.
Your testers never touch Windows for this. They install the build on their own iPhone or iPad through the TestFlight app, the same way they would for any beta. Only the build-and-upload step needs a Mac, and that is exactly the archive-and-export flow covered in Step 5 below.
Why Rentamac.io Is The Best Choice
For compliant iOS testing without owning a Mac, Rentamac.io gives you a complete macOS setup you reach from your Windows PC. You log into a real Mac, use Xcode, run the iOS Simulator, test your app, or submit it to the App Store. Here is what makes it a good pick:
Real macOS Experience
You’re working on an actual Apple machine with macOS – no emulators or hacks. This means you won’t run into compatibility issues or break any of Apple’s rules.
Build and Test iOS Apps from Windows
Whether your app is made with React Native, Flutter, Swift, or Objective-C, you can compile, test, and debug directly from your Windows PC, thanks to remote Mac access.
Fully Compliant
Rentamac.io follows Apple’s End User License Agreement, unlike virtual machines or Hackintosh setups. You can use it without worrying about your Apple Developer account or App Store approval.
Great Performance
Every instance is a real Mac Mini M4 with 16GB of RAM, so build times stay quick and the iOS Simulator runs smoothly while you debug.
Clear Pricing
You don’t have to buy a MacBook or set up complicated systems. Plans are Daily $15, Weekly $49, and Monthly $99, so you just rent what you need for as long as you need it. There is no hourly plan, since Apple’s macOS terms don’t allow one.
How to Test iOS Apps Using Rentamac
Setting up a Mac from a Windows PC might seem tricky, but with Rentamac.io it takes five short steps. You pick a plan from $15 a day, pay through Stripe, then connect to your own Mac Mini M4 with the pre-installed DeskIn app. From there you install Xcode from the App Store, open your project in the iOS Simulator to test it, and archive the build to export an .ipa file.
Here is the same flow as a quick checklist:
1. Pick a plan (Daily $15, Weekly $49, or Monthly $99) and pay through Stripe.
2. Connect to your Mac Mini with the pre-installed DeskIn app.
3. Install Xcode from the App Store on your rented Mac.
4. Test your app by running it in the iOS Simulator.
5. Build and export the .ipa file for TestFlight or the App Store.
Step 1: Choose a Plan and Payment Option
Pick a plan. Choose the plan that fits your needs: Daily $15, Weekly $49, or Monthly $99. Once you choose, you go to a secure checkout page handled by Stripe, where you can pay with a Visa or Mastercard, or with PayPal. Access is immediate after payment.

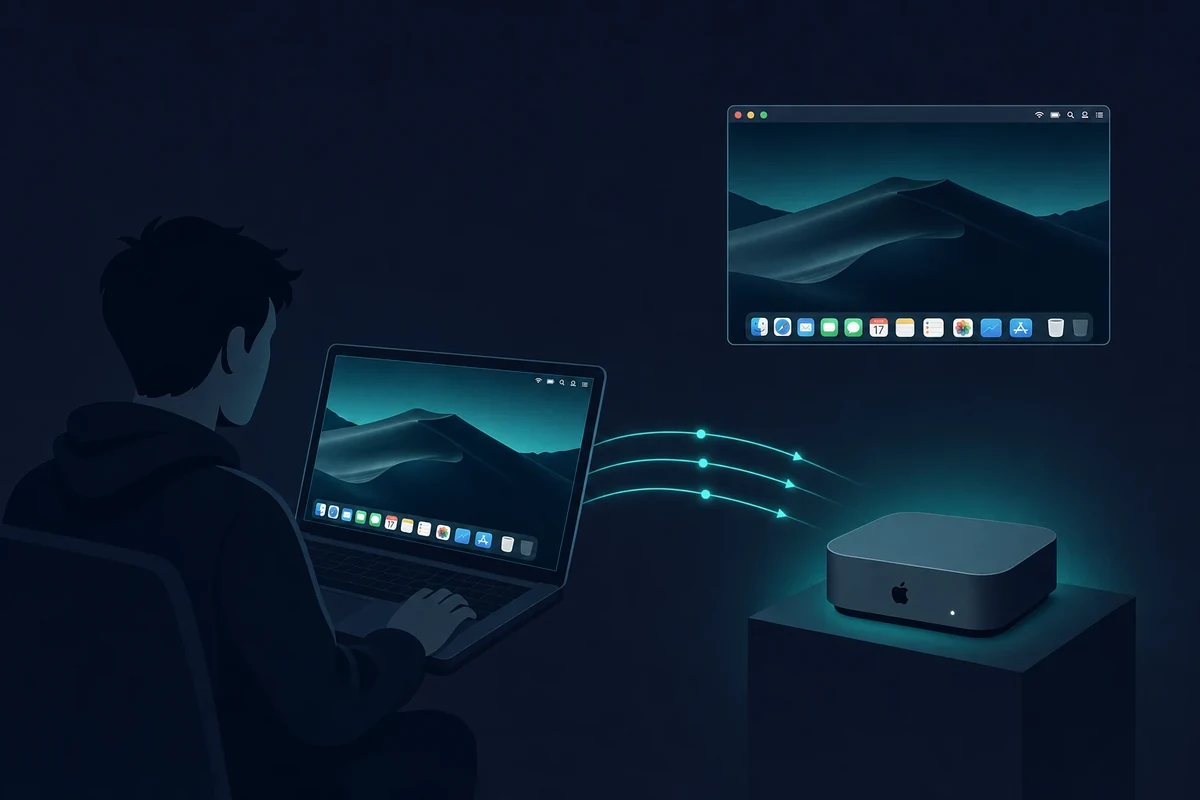
Step 2: Connect to Your Mac Mini
After you’ve paid, you’ll get your own dedicated Mac Mini. You’ll receive your remote access credentials, including the Mac login info and details for the remote desktop tool.
Connect with DeskIn. It is a remote desktop app that comes pre-installed on your Mac at no extra cost and even works from a phone or tablet. Just open it from your Windows PC to control your rented Mac, and if a session ever drops, the dashboard has a “Restart DeskIn” button to bring it back.
Parsec and SSH over Tailscale are there too if you prefer them.

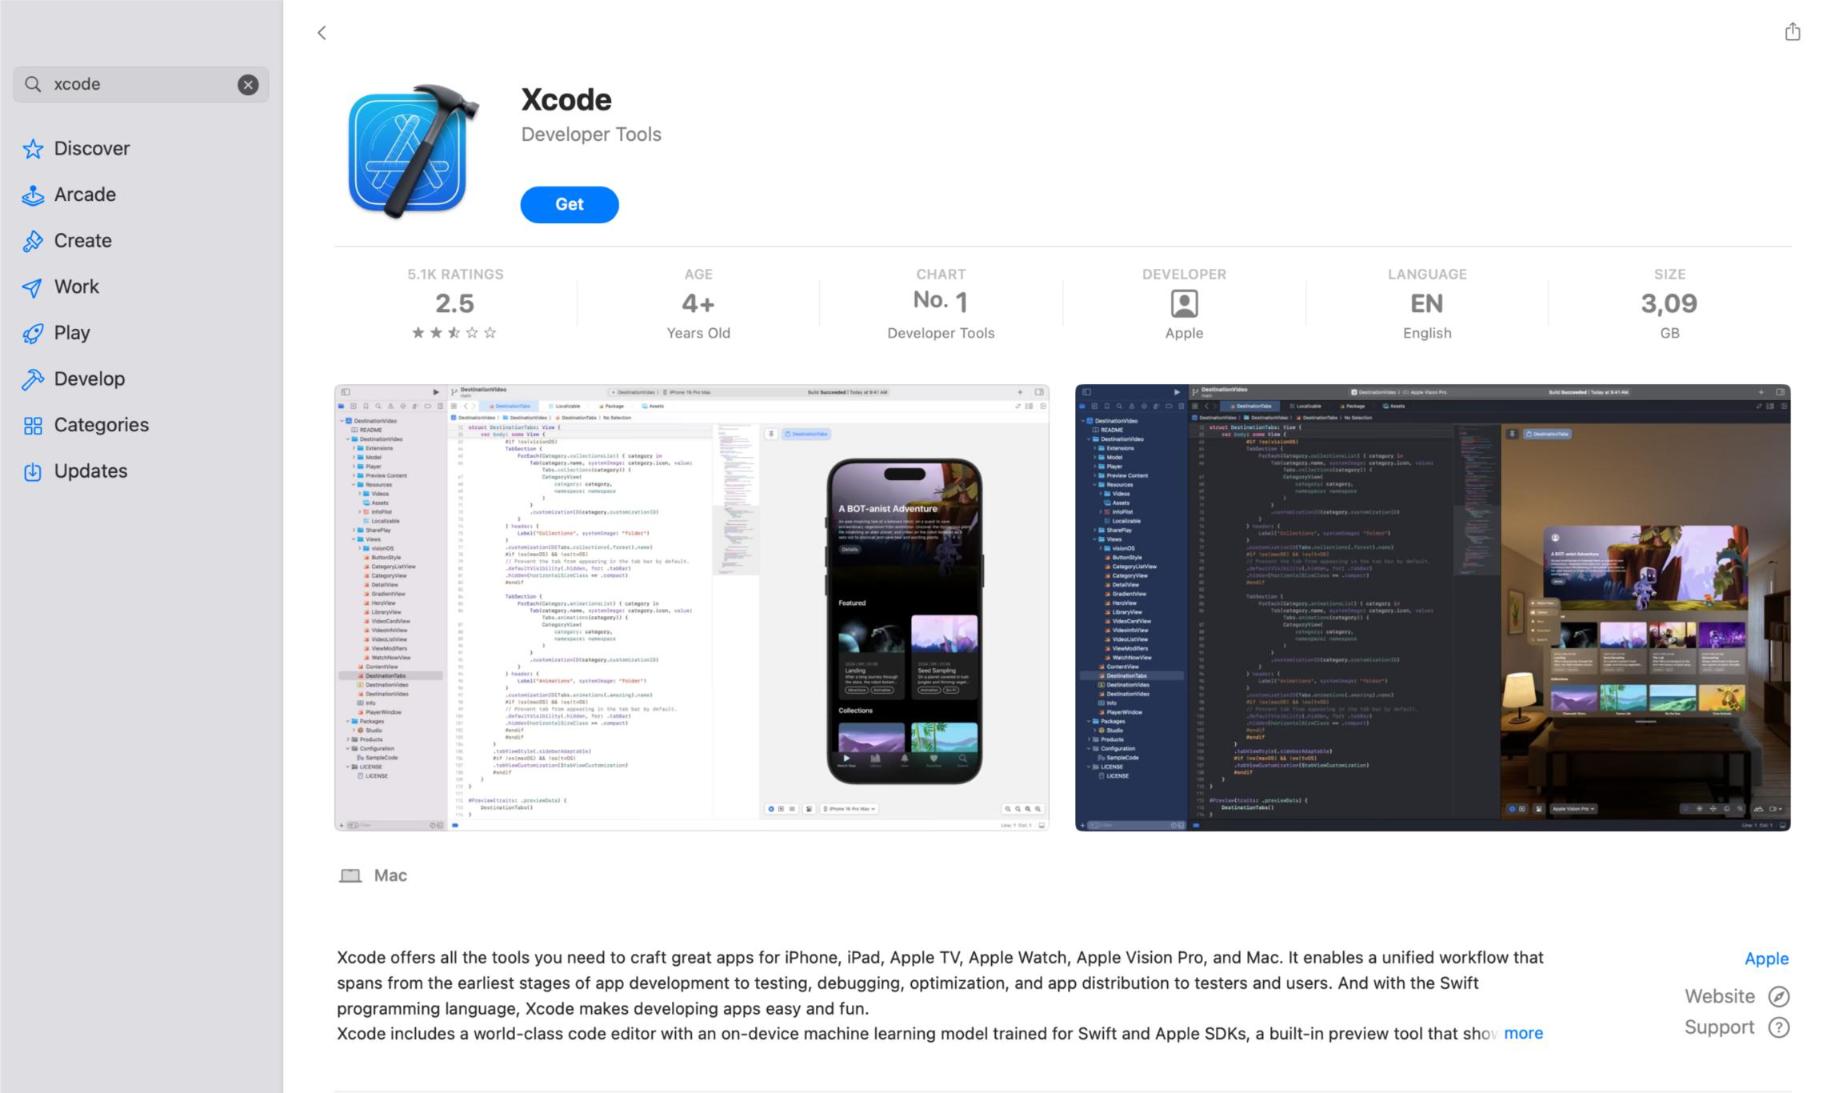
Step 3: Install and Launch Xcode
Xcode is Apple’s official tool for building iOS apps. Open the App Store on your rented Mac and install Xcode if it’s not already there. As of mid-2026 the current toolchain is Xcode 26 with iOS 26 and macOS Tahoe 26, so the App Store will pull the latest version for you.
Step 4: Test Your iOS App
- Open your iOS project (React Native, Swift, Flutter, etc.)
- Choose a target device in the iOS Simulator.
- Run the app, debug it as you go, and check its performance.
Step 5: Build and Export
When you’re ready, archive the app and export the .ipa file for TestFlight or App Store submission – all from Xcode on your rented Mac. This is also how you deploy an iOS app without a Mac of your own: you archive on the rented Mac, then submit from there.
FAQs
Can I run Xcode on Windows?
Xcode is only for macOS. If you want to use it on a Windows PC, you can try Rentamac.io to access a real Mac remotely.
Can I build and test iOS apps without a Mac?
Absolutely. A rented cloud Mac lets you build and test iOS apps on Windows without buying any Apple devices.
Is it legal to run macOS on Windows?
Using macOS on non-Apple hardware, like virtual machines or a Hackintosh, usually goes against Apple’s license agreement and isn’t the best idea for development. A real Mac, or a rented cloud Mac, stays fully compliant. That makes it the safe path for any App Store work.
Do you need a paid Apple Developer account to test an iOS app?
Not for testing on your own device. A free Apple ID in Xcode 7 and later gives you a free certificate to install and run your app on an iPhone or iPad you own. The paid Apple Developer account, which costs $99 a year, is only needed to distribute through the App Store or to use TestFlight and in-app purchases.