
On this page
- ›How React Native iOS Development Works on Windows
- ›The Quickest Fix: Use a Cloud Mac from Rentamac.io
- ›Préparer votre configuration de développement sous Windows
- ›Tester iOS sans Mac - La méthode Expo
- ›Building iOS Apps with React Native and Xcode (using Rentamac.io)
- ›How to build iOS from Windows with Expo EAS Build (no local Mac)
- ›Automatiser les builds iOS sans MacBook (CI/CD avec Codemagic)
- ›Déboguer et tester des applications iOS sous Windows (à l'aide d'un Mac Cloud)
- ›Les erreurs à éviter lors de la création d'applications iOS sous Windows
- ›FAQ
La création d'applications multiplateformes est devenue beaucoup plus facile avec React Native. Ce framework permet aux développeurs d'écrire un seul ensemble de code JavaScript et de créer des applications pour Android et iOS. Que vous soyez un développeur solo ou que vous travailliez dans une startup, React Native peut vous aider à accélérer le développement de vos applications mobiles.
Mais il y a un petit problème : le développement iOS nécessite Xcode, qui ne fonctionne que sur macOS. Si vous utilisez un PC Windows, il peut donc être difficile de créer et de tester des applications iOS.
La bonne nouvelle, c'est que vous pouvez toujours créer des apps iOS avec React Native sur Windows sans acheter un Mac ou mettre en place une machine virtuelle compliquée. La solution simple consiste à utiliser un véritable Mac hébergé dans le cloud qui est entièrement configuré pour le développement.
That’s where Rentamac.io is helpful. It provides quick remote access to actual Mac machines where you can install Xcode, allowing you to build, test, and deploy iOS apps straight from your Windows computer, on Apple’s own macOS and Xcode, with no workaround or hassle.
Can you do React Native iOS development on Windows?
Yes, for coding and live preview. You write and run the JavaScript on Windows and preview on a real iPhone with Expo Go. But the iOS build and the iOS Simulator need macOS. You reach macOS either through Expo EAS Build’s cloud or a rented Mac running Xcode 26 on macOS Tahoe.
How React Native iOS Development Works on Windows
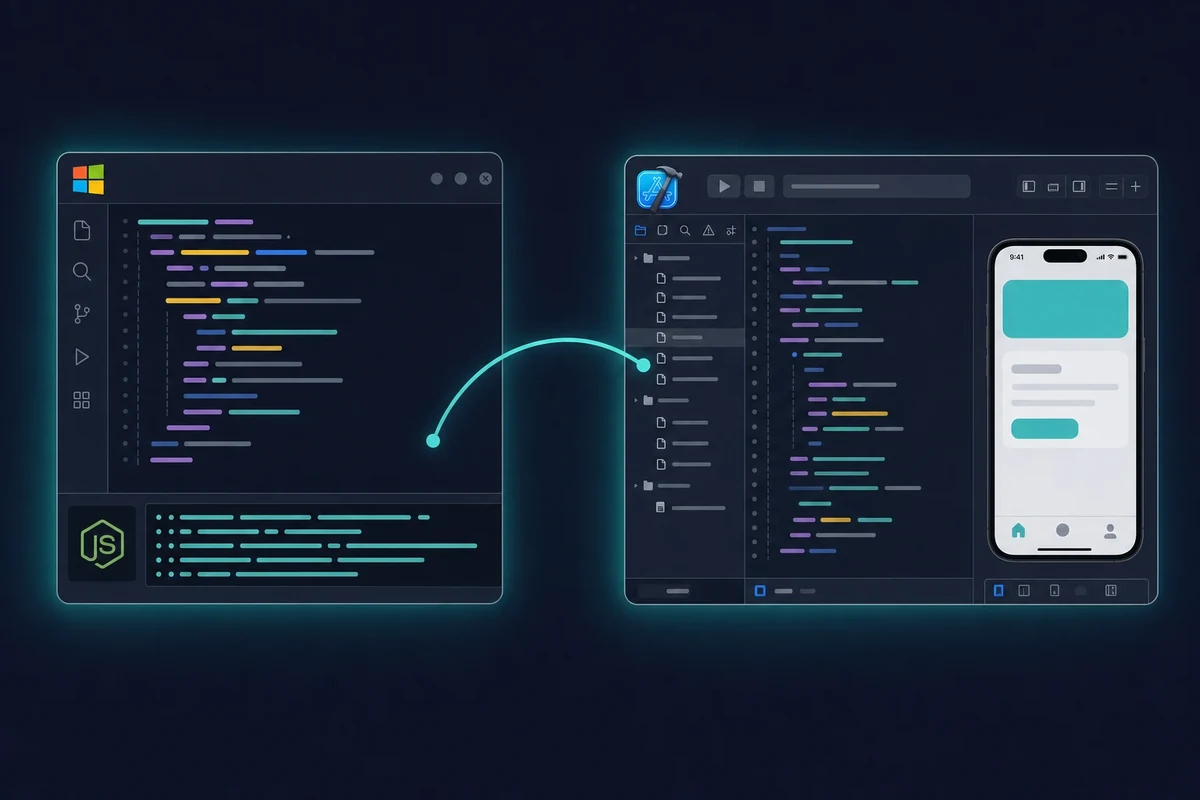
The work splits cleanly in two. On Windows you write the JavaScript, run the Metro bundler that serves your code to the app, and live-preview on a real iPhone with Expo Go. That whole loop runs fine without a Mac.
The other half needs macOS. The native iOS compile, the code-signing step, and the iOS Simulator all run only on a Mac. React Native iOS development still requires macOS and Xcode for the build, because Apple ships those tools only for the Mac.
So React Native supports both Windows and macOS as targets, but the iOS build is the one part that still needs a Mac. You write and preview on Windows, then reach macOS for the compile through one of several comment développer des applications iOS sans Mac, like a cloud Mac or a hosted build service.
Alors, que pouvez-vous faire ?
Voyons comment les développeurs contournent ce problème pour créer et tester des applications iOS à l'aide d'un PC Windows.
| Méthode | Pour | Cons |
| Expo CLI | Installez rapidement et testez en direct sur iOS en utilisant Expo Go. | Il s'agit uniquement d'applications de base, sans modules intégrés. |
| Mac virtuel | Gratuité et contrôle total | Il présente certains risques juridiques, n'est pas très stable et nécessite un peu d'installation. |
| CI/CD (Codemagic) | Des constructions automatisées qui peuvent évoluer avec votre équipe. | Il faut les bons paramètres, mais il n'y a pas d'option de débogage en temps réel ou d'interface utilisateur graphique. |
| Cloud macOS (Rentamac.io) | Obtenez un vrai Mac avec Xcode déjà installé et prêt à l'emploi. | Peu coûteux, il nécessite une connexion internet fiable. |
The Quickest Fix: Use a Cloud Mac from Rentamac.io
If you’re serious about building for iOS but work on Windows, you need one thing above all: access to a real Mac. You can check out Rentamac.io instead of shelling out for Apple hardware or dealing with a tricky virtual machine.
Why a Cloud Mac Works Best
With Rentamac.io, you can instantly access real, dedicated Mac computers in the cloud. They come loaded with the latest macOS, Xcode, and the necessary tools. Here’s what you can do:
- Build iOS apps using React Native on Windows on a Mac that runs Apple’s own macOS and Xcode, no EULA workaround
- Testez vos applications iOS sans avoir besoin d'un Mac physique sur votre bureau
- Déployer sur l'App Store avec un compte Apple Developer légitime
- Évitez les problèmes liés à l'installation d'un Hackintosh ou de machines virtuelles qui ont tendance à se bloquer.
Whether using Expo CLI for quick tests or full React Native CLI with custom code, your rented Mac will handle everything, from initial builds to final App Store launch. This setup gives you better pricing and less hassle compared with most cloud Mac rental services.
Préparer votre configuration de développement sous Windows
If you want to build an iOS app using React Native on Windows, you must prepare your development environment. The actual building for iOS will happen on a Mac (like the one you can rent from Rentamac.io), but you’ll do most of your coding on your Windows computer.
Vous ferez probablement la plupart de votre codage React Native sur votre machine Windows, mais la véritable construction se fera sur un Mac à distance. Il s'agit d'une configuration assez courante si vous faites du Développement iOS sous Windows.
Étape 1 : Installer Node.js et npm
Les applications React Native ont besoin de Node.js pour fonctionner et gérer les dépendances. Il suffit de le télécharger à partir de nodejs.org (optez pour la version LTS).
Step 2: Start a React Native project
The old global react-native-cli package is now legacy, so you no longer install it with npm install -g. Instead, create a new project straight from the current CLI:
npx @react-native-community/cli@latest init MyiOSApp
That command scaffolds a fresh React Native app with the current toolchain. One thing to know: React Native 0.76 and later ship the New Architecture by default, and the framework is at around 0.83 as of late 2025, so a new project is already on the modern setup.
Step 3: Set up Expo (optional, good for beginners)
Expo makes development easier and lets you test basic iOS apps without a Mac using the Expo Go app. The standalone expo-cli is also retired, so you bootstrap an Expo project like this instead:
npx create-expo-app MyiOSApp
That builds an Expo-managed project. With Expo, you can run and preview your app on an iPhone by scanning a QR code, and you don’t need a Mac for that part.
Étape 4 : Choisir un éditeur de code
Nous suggérons d'utiliser Visual Studio Code avec l'extension "React Native Tools". Il est excellent pour le débogage, offre IntelliSense, et fonctionne bien avec les appareils.
Step 5: Set Up Git and Link to Your Rented Mac
Une fois que tout est installé localement, envoyez votre code sur GitHub ou GitLab. Sur votre Mac loué, clonez votre dépôt et continuez à construire directement dans Xcode ou dans le terminal.
Tester iOS sans Mac - La méthode Expo
If you’re new to app development or just want to test some features, Expo makes it easy to do iOS testing without a Mac, right from your Windows PC. Expo is a tool that works with React Native to build cross-platform apps faster, skip native-module setup, and preview on a real iPhone with the Expo Go app.
You can try out your iPhone app by scanning a QR code, no Xcode, no Mac, and no simulator needed. One point worth knowing: there is no Expo iOS Simulator on Windows, because the iOS Simulator needs macOS, so on Windows you preview on a real iPhone with Expo Go instead.
Démarrer avec l'Expo
1. Create a new Expo app:
The retired expo-cli global is gone, so create the project with the current command:
npx create-expo-app my-ios-app
This scaffolds an Expo project ready to run.
2. Start your project:
cd my-ios-app
npx expo start
That command starts the Expo dev server and shows a QR code. Scan it with the Expo Go app on your iPhone and your app loads on the device, giving you a real iOS testing experience without a Mac.
If the QR scan does not connect over your local network, switch Expo to “tunnel” mode and scan again, which routes the connection through Expo and usually fixes a failed LAN scan.
Il convient bien aux premières étapes de la construction ou au prototypage de l'interface utilisateur, en particulier si vous cherchez à savoir comment tester des applications iOS sur Windows avec une configuration minimale.
Limites de l'Expo
L'Expo est un outil formidable pour les débutants, mais il présente quelques inconvénients :
| Pour | Cons |
| Pas besoin d'un Mac pour tester sur iOS. | Impossible d'utiliser des modules natifs personnalisés. |
| Configuration rapide | L'application est plus grande parce qu'elle comporte des fonctions intégrées. |
| Obtenez des mises à jour en temps réel et voyez les changements immédiatement. | Il n'y a pas beaucoup de place pour des fonctions avancées. |
Lorsque vous serez prêt à dépasser ces limites, par exemple à publier sur l'App Store ou à ajouter des modules natifs, vous aurez besoin de Xcode et d'un environnement Mac.
Building iOS Apps with React Native and Xcode (using Rentamac.io)
Une fois que vous êtes prêt à dépasser Expo et que vous voulez vous lancer dans le vrai développement natif, il est temps d'utiliser React Native vanille. Cela signifie que vous aurez besoin de Xcode et d'un Mac.
To build a React Native iOS app from Windows, the compile step still runs on a Mac, and here is the exact flow. With a cloud-based macOS machine from Rentamac.io, you can build iOS apps with React Native on a Windows PC in five steps.
1. Créer un projet React Native sur Windows
First, set up your project using the current CLI:
npx @react-native-community/cli@latest init my-ios-app
That command scaffolds the project. Then push it to a Git repo like GitHub or GitLab.
2. Access Your Mac via Rentamac.io
Log into your rented Mac using DeskIn, the remote tool that comes pre-installed on the machine. Now, clone your repository:
clone git
3. Installer CocoaPods et les dépendances
Dans le terminal Mac, exécutez :
cd ios
installation du pod
4. Ouvrir le projet dans Xcode
Lancez l'espace de travail my-ios-app.xc dans Xcode.
Set your Bundle Identifier, connect your Apple Developer account, and adjust your signing and team settings in the “Signing & Capabilities” tab.
Make sure you are on a current Xcode. Xcode 26 (patch 26.5, released May 11, 2026) is mandatory for App Store uploads as of April 28, 2026, and Xcode 26.4 needs macOS Tahoe 26.2 or later.
A rented Mac Mini M4 already runs macOS Tahoe 26.4, so it clears that bar out of the box. If you need to install the IDE yourself, see how to get Xcode on Windows through a rented Mac.
5. Exécuter l'application iOS
Vous pouvez l'exécuter à partir du terminal :
npx react-native run-ios
Or just hit the Run button in Xcode to start your app in the iOS simulator. To run a React Native app on an iOS device instead, plug the iPhone into your rented Mac, select it in Xcode, and run it from there.
How to build iOS from Windows with Expo EAS Build (no local Mac)
Expo EAS Build compiles and signs your iOS app on Expo’s cloud macOS machines, so you can trigger a real iOS build straight from Windows. EAS Submit then uploads that build to the App Store from your Windows terminal. You still need a $99 per year Apple Developer account, but no Mac on your desk.
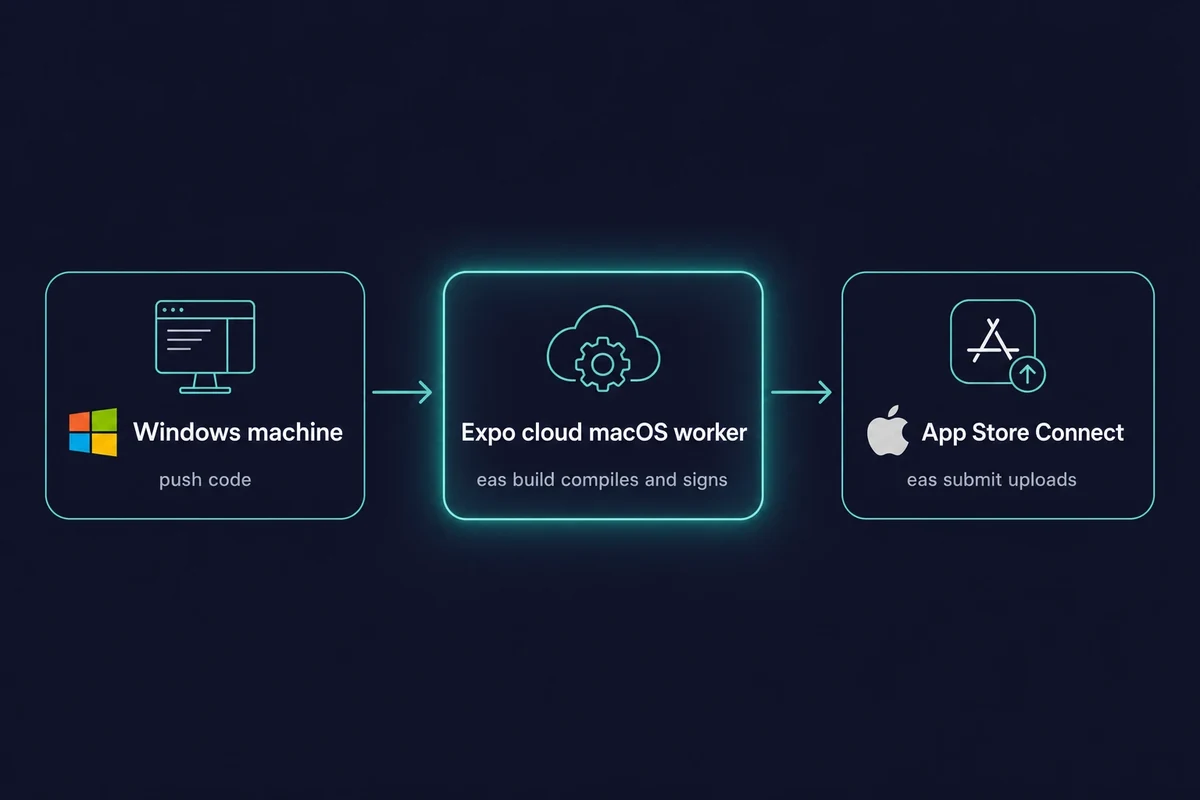
Les eas build --platform ios command runs the compile and sign step on Expo’s hosted macOS workers, so the sign step (which needs an Apple-issued certificate) happens in the cloud. The free tier gives you 15 iOS builds per month on a low-priority queue, with a 45-minute timeout per build.
Les eas submit --platform ios command then uploads the finished build to App Store Connect from Windows or Linux, since the macOS-only upload runs on Expo’s cloud. Either way, the $99 per year Apple Developer membership is still required.
So when do you reach for EAS, and when for a rented Mac? They work well together rather than competing.
| What you need | Expo EAS Build | A rented Mac (Rentamac.io) |
|---|---|---|
| Where the build runs | Expo’s cloud macOS workers | Your own dedicated Mac Mini M4 |
| iOS Simulator | Not available | Yes, full Xcode Simulator |
| Native debugging | Limited | Full Xcode debugging |
| Live device testing | Via Expo Go only | Plug an iPhone into the Mac |
| App Store submit | eas submit from Windows | Upload from the Mac |
| Free tier | 15 iOS builds/month, 45-min timeout | No free tier, from $15/day |
Pick EAS Build for hands-off cloud builds and submission with no machine to manage. Pick a rented Mac when you need the iOS Simulator, native debugging, live device testing, or full control.
Neither one skips a Mac for free: the build always runs on macOS somewhere, on Expo’s worker or on the Mac you rent. One real limit: the iOS Simulator cannot run on Windows because it needs macOS, so on Windows you live-preview on a real iPhone through Expo Go and reach a full Simulator only on a Mac.
Automatiser les builds iOS sans MacBook (CI/CD avec Codemagic)
Codemagic est un outil CI/CD conçu pour les développeurs mobiles qui peut prendre en charge l'ensemble du processus d'application iOS, de la construction et de la signature à la mise en ligne sur l'App Store.
Si vous travaillez avec React Native sur Windows, vous pouvez toujours faire fonctionner vos apps iOS en utilisant Codemagic et un service Mac en nuage tel que. Rentamac.io or just using Codemagic’s hosted Macs. If you prefer to stay inside the Expo toolchain, Expo EAS Build (covered above) is the modern hosted-build alternative that compiles and submits from Windows without a separate CI service.
Why Combine Codemagic with a Cloud Mac?
- A cloud Mac - Idéal pour le développement et les tests en temps réel.
- Codemagic - Idéal pour automatiser les constructions et les téléchargements vers l'App Store.
Together, they give you a smooth workflow: build your iOS app with React Native on Windows, test it through your rented Mac, and deploy it with Codemagic.
Comment ça marche
1. Push your React Native project to GitHub or GitLab.
2. Create a Codemagic account and link your repo.
3. Add a codemagic.yaml file to set up your build and signing process.
4. Keep your Apple Developer credentials safe in Codemagic.
5. Start a new build with a click, or set it to run with every code change.
Codemagic peut stocker en toute sécurité vos certificats et vos clés, et s'occuper automatiquement de la signature.
Voici un exemple simple de codemagic.yaml :
les flux de travail :
react-native-ios :
nom : ios-build
instance_type : mac_mini
l'environnement :
vars :
BUNDLE_ID : "com.yourcompany.app"
des scripts :
- npm install
- cd ios && pod install
- xcode-project build-ipa –workspace ios/YourApp.xcworkspace –scheme YourApp
artefacts :
- build/ios/ipa/*.ipa
Quand utiliser Codemagic :
- Déploiement sur l'App Store ou TestFlight.
- Gestion de différents environnements, tels que la mise en scène et la production.
- Exécution de tests automatisés sur différentes versions et différents appareils.
Codemagic is all about saving time, not replacing your Mac. And with a rented Mac, you can do iOS testing without a MacBook while getting automated builds.
Déboguer et tester des applications iOS sous Windows (à l'aide d'un Mac Cloud)
Une fois que votre application a été créée sans problème, l'étape suivante consiste à la tester et à la déboguer. Pour les applications iOS, vous avez généralement besoin du simulateur de Xcode ou d'un iPhone physique, ce qui signifie, là encore, que vous aurez besoin d'un Mac.
But with a rented Mac, you can test your iOS apps from your Windows machine without a MacBook.
Testez comme si vous étiez sur un Mac local
Lorsque vous louez un Mac en nuage, vous pouvez :
- Exécutez votre application dans le simulateur iOS
- Test sur différents modèles d'iPhone et versions d'iOS
- Utiliser les outils de Xcode pour corriger les problèmes de niveau natif
- Connectez-vous à un véritable iPhone si nécessaire
Whether you’re checking UI layouts, network performance, or crashes, Xcode on your rented Mac gives you everything necessary, all from Windows.
Principaux outils de débogage
Voici quelques outils que vous pouvez utiliser :
- Débogueur Xcode - Vérifier les variables, définir des points d'arrêt et surveiller la mémoire
- React DevTools - Examiner l'arborescence des composants et déboguer l'état et les accessoires
- Chrome DevTools - Vérifier les journaux de la console, les requêtes réseau et les erreurs JS
- React Native DevTools – Inspect components, console, and network; this is the default debugger since React Native 0.76 and it replaced Flipper, which was removed from React Native back in 0.74
Vous pouvez accéder à tous ces outils tout en étant connecté à votre Mac en nuage pour une expérience de débogage solide.
Conseils pour tester iOS en toute sérénité depuis Windows
- Pour obtenir des données précises sur les performances, il faut toujours tester en mode "Release".
- Utiliser différents simulateurs pour couvrir tous les scénarios (par exemple, iPhone SE vs. iPhone 14 Pro Max)
- Si vous utilisez Expo, essayez de tester avec Expo Go pour les cas simples, mais vérifiez toujours le comportement final sur Xcode.
Les erreurs à éviter lors de la création d'applications iOS sous Windows
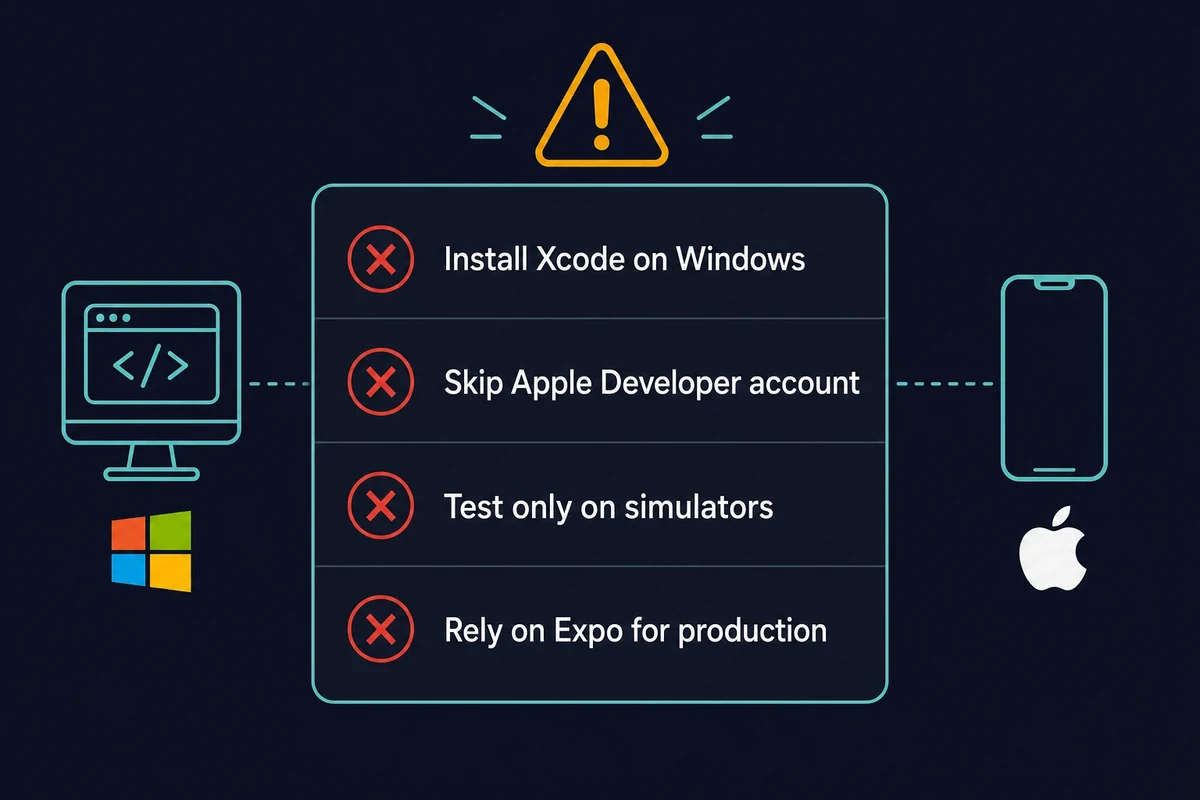
Lorsque vous créez des apps iOS avec React Native sur Windows, vous risquez de rencontrer des problèmes courants, surtout si vous cherchez des solutions rapides. Voici quelques erreurs qui peuvent vous faire perdre du temps, causer des problèmes ou même empêcher votre application de figurer sur l'App Store :
1. Tentative d'installation de Xcode sur Windows
You can’t reliably install Xcode on Windows because of Apple’s licensing rules and how their system is set up. Even virtual machines or Hackintosh setups, while sometimes used to simuler iOS sur WindowsIls sont souvent très lents ou ne prennent pas en charge les derniers kits de développement logiciel (SDK).
Au lieu de cela : Go for a cloud-based Mac that runs Apple’s own macOS and Xcode, no workaround needed.
2. Trop grande dépendance à l'égard de l'Expo pour la production
Expo est idéal pour les tests rapides et le développement iOS sans Mac, mais il n'est pas conçu pour les applications de production complexes. Vous risquez de rencontrer des limites si vous avez besoin de fonctionnalités natives personnalisées ou d'outils tiers spécifiques.
Au lieu de cela : Start with Expo, but when you’re ready to scale, switch to plain React Native using Xcode on your rented Mac.
3. Sauter les tests sur des appareils réels
En ne testant que sur des émulateurs, vous passez à côté de problèmes réels tels que les interactions tactiles, le GPS, l'accès à l'appareil photo ou les performances de l'application sur le matériel réel.
Au lieu de cela : With a rented Mac, you can test your app directly on an iPhone or run thorough simulator tests in Xcode.
4. Négliger les besoins du compte développeur Apple
You need an Apple Developer account to get your app on the App Store or even run it on a real device. The membership costs $99 per year, and you must have proper signing, provisioning profiles, and certificates.
Si vous êtes un développeur Swift qui n'utilise pas React Native, vous pouvez toujours faire Développement Swift sur Windows. Il suffit de louer un Mac, comme vous le feriez avec React Native.
Au lieu de cela : Set this up early. Keep your credentials secure on your rented Mac or use CI/CD tools like Codemagic.
FAQ
1. Puis-je créer des applications iOS avec React Native sur Windows ? Yes, you can write your code on Windows. But since Xcode is only available on macOS, you’ll need to rent a cloud Mac from Rentamac.io for the final builds and to run your app. 2. Puis-je tester des applications iOS sans Mac ? You can check basic features using Expo Go on a real iPhone. For complete testing with the simulator, native debugging, and App Store submissions, you’ll need access to a macOS system. 3. Ai-je toujours besoin d'un compte Apple Developer ? Yes, you still need an Apple Developer account. You’ll have to get one if you want to run apps on actual iOS devices or put them on the App Store. 4. How do I test a React Native iOS app on Windows? Live-preview on a real iPhone with Expo Go by scanning the QR code from the Expo dev server. For the iOS Simulator, native debugging, and crash testing you need macOS, which you reach on a rented Mac running Xcode. 5. Why does React Native say iOS builds require macOS and Xcode? Apple ships Xcode and the iOS build toolchain only for macOS, so the compile and sign step always runs on a Mac. That Mac is either Expo EAS Build’s cloud macOS worker or a rented Mac you control. 6. Can I submit my iOS app to the App Store from Windows? Yes. You can use eas submit (the macOS-only upload runs on Expo’s cloud) or upload from a rented Mac. Either way you need the $99 per year Apple Developer account.