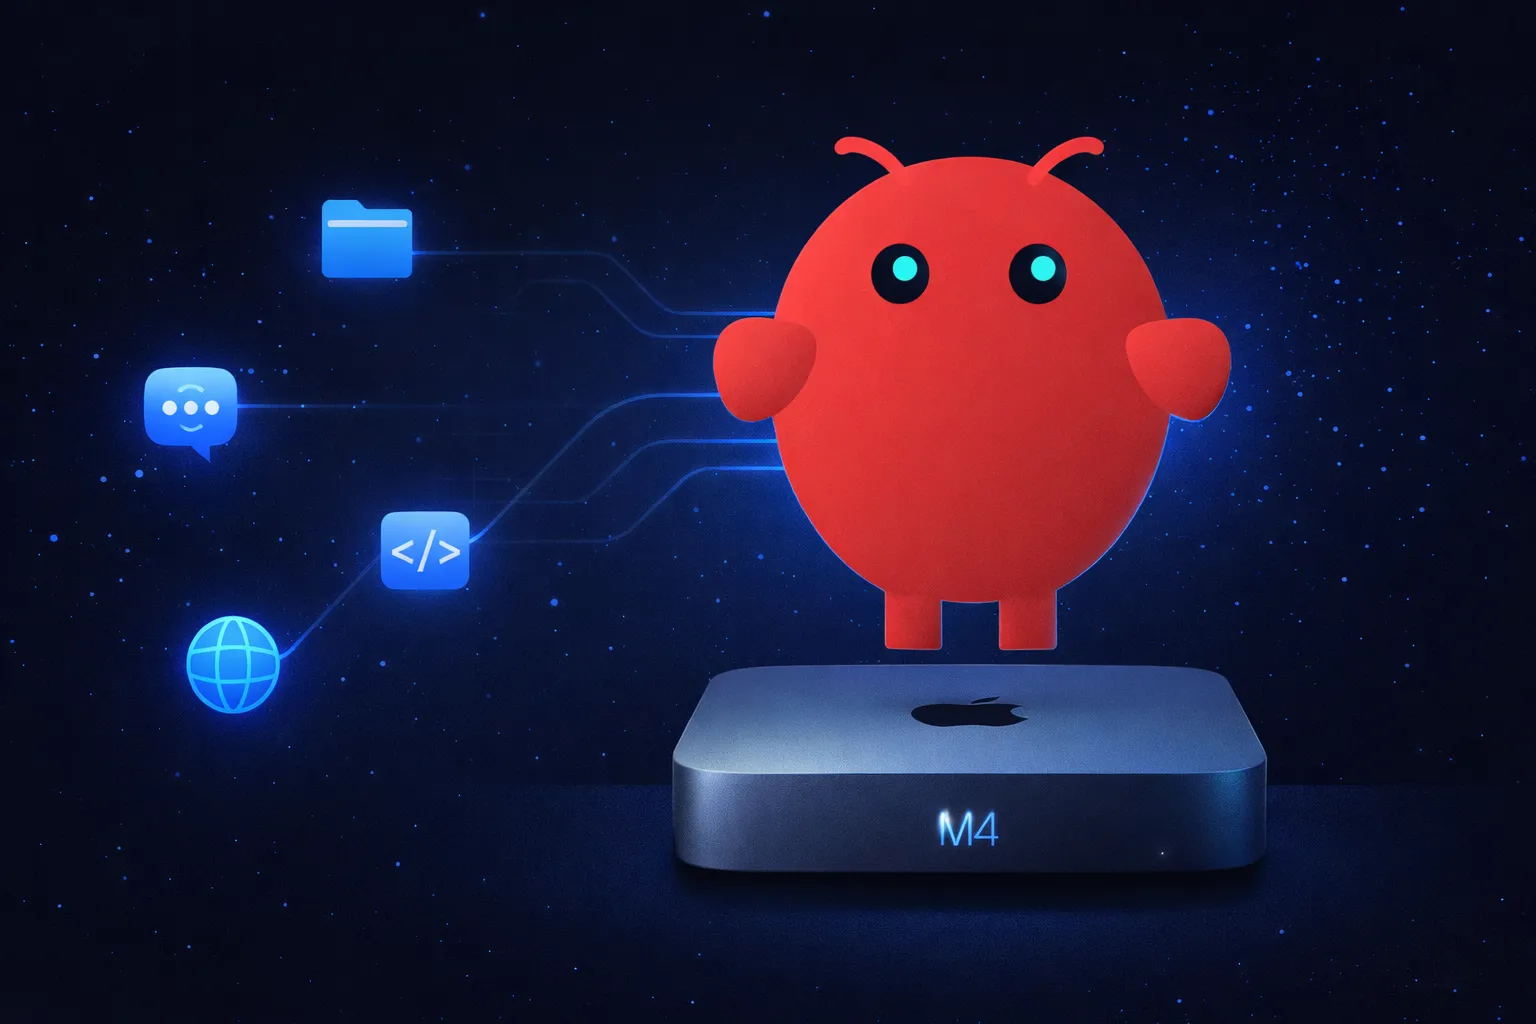
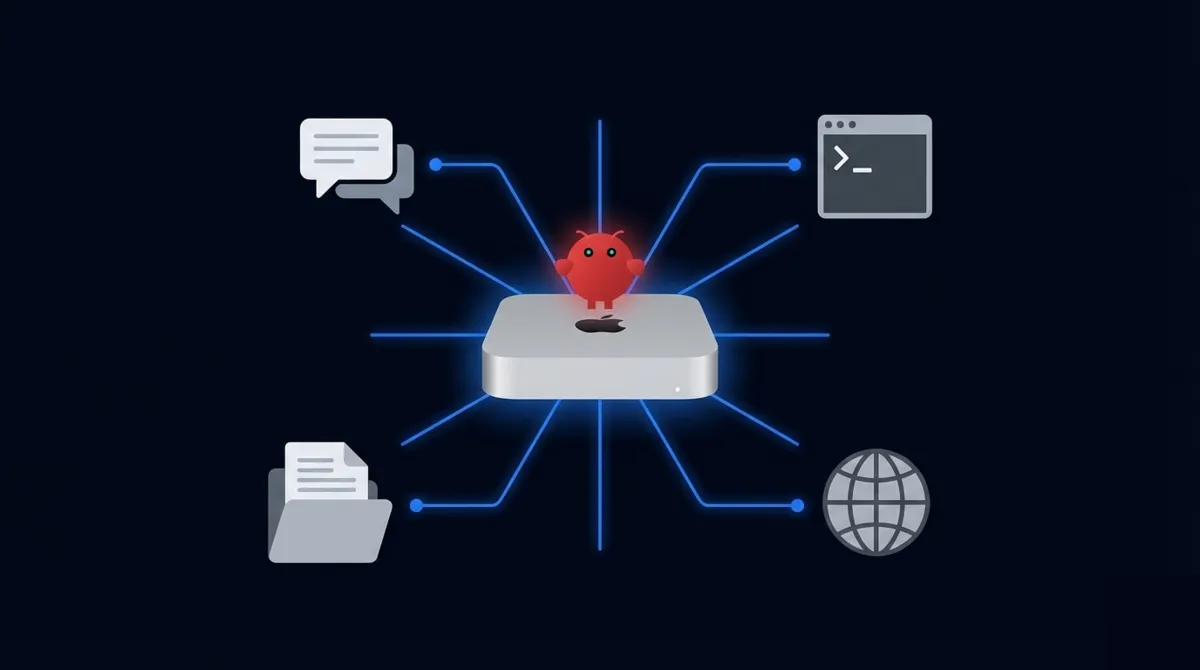
I spent a weekend turning a Mac Mini into a personal AI agent that runs around the clock. No cloud subscription. No monthly bill beyond API costs. Just a small silver box on my desk that reads my messages, manages files, browses the web, and runs code on its own.
That’s OpenClaw. And getting it running is easier than you’d think, but there are a few gotchas that’ll cost you an hour if you don’t know about them upfront. I’ll walk you through the whole thing.
The fastest way: let Claude set it up for you
If you don’t feel like reading a guide, there’s a shortcut. Download Claude Desktop, open Cowork mode, and tell it: “Install and set up OpenClaw on this Mac.”
That’s it. Cowork has Terminal access and can run bash commands directly on your machine. It’ll handle the install script, walk you through the onboarding prompts, configure the daemon, and even tweak your energy settings for 24/7 headless operation.
You still need to toggle three macOS permissions yourself (System Settings won’t let anything do that for you), but Claude tells you exactly which ones to flip and waits for confirmation before moving on. Five minutes, tops.
If you’d rather understand each step and do it yourself, keep reading. But if you just want it done? Claude + Cowork is the move.
Why a Mac Mini?
Quick context if you’re weighing your options. OpenClaw runs on Linux, Windows (via WSL2), and macOS. But the Mac Mini has become the default choice for a reason.
Apple Silicon gives you fast inference if you ever want to run local models. The machine sips power (under 10W at idle), runs silent, and macOS handles sleep/wake better than most Linux boxes for always-on operation. Peter Steinberger, the guy who built OpenClaw, developed it on a Mac. So macOS is the most polished experience.
The base M4 Mac Mini starts at $600. One-time cost, and the base model (16GB RAM, 256GB storage) is more than enough. OpenClaw itself chews through maybe 2-3GB of RAM. The rest is headroom.
Don’t have a Mac Mini and don’t want to buy one just for this? You can rent a dedicated M4 Mac Mini in the cloud at rentamac.io to develop and test your AI agent setup. Full admin access, same steps as a local machine.
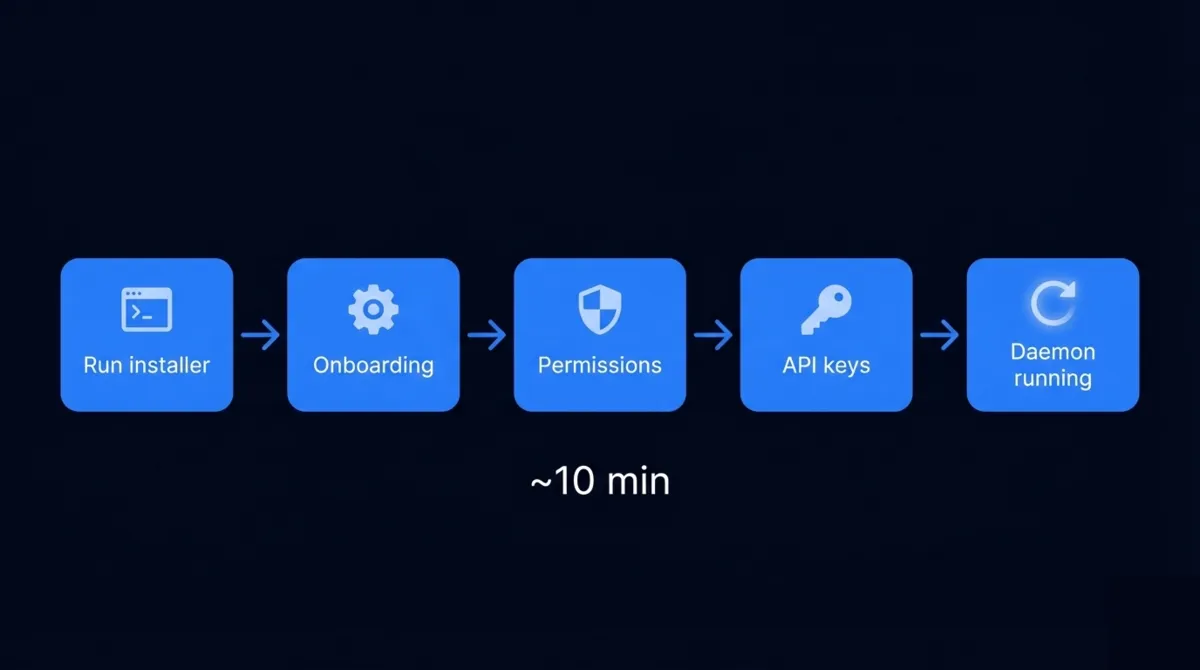
Setting up OpenClaw on your Mac Mini
The whole install takes about 10 minutes. Maybe less. But don’t skip steps or you’ll end up debugging permissions for longer than the install took.
Step 1: Open Terminal and run the installer
One command:
curl -fsSL https://openclaw.ai/install.sh | bashThis does three things: checks for Node.js 22+ (installs it if you don’t have it), drops the OpenClaw CLI globally, and launches the onboarding wizard.
If you already have Node.js and prefer doing it by hand:
npm install -g openclaw@latestStep 2: Walk through onboarding
The wizard asks you a few things. Which LLM provider you want (OpenAI, Anthropic, local, etc.). Your API key. What messaging channels to connect. Your timezone. Basic stuff.
Don’t overthink the channel selection here. You can add more later. I started with just Telegram and added WhatsApp and Slack after I had the basics working.
Step 3: Grant macOS permissions
This is where most people get stuck.
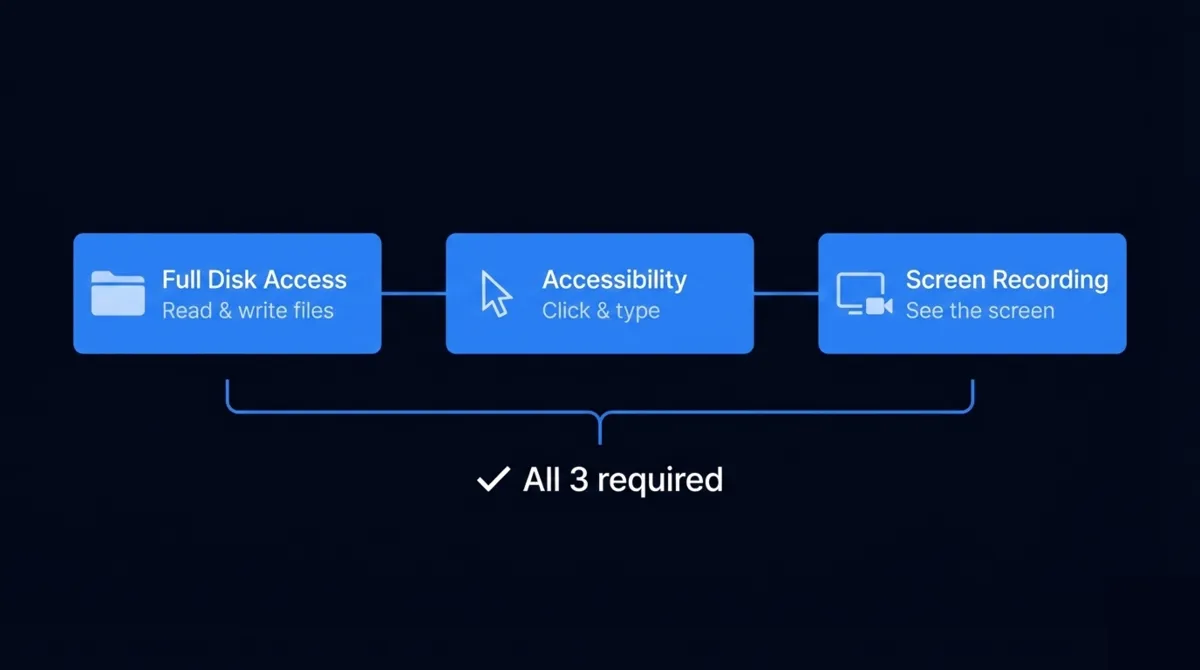
OpenClaw needs three permissions to work properly. Not two. Not one. All three.
- Full Disk Access — so it can read and write files across your system
- Accessibility access — so it can click, type, and control apps
- Screen Recording — so it can grab screenshots and see what’s on screen
Go to System Settings > Privacy & Security and add Terminal (or whatever terminal app you use) to each of those three categories.
Now here’s the part that trips everyone up. After you toggle those permissions on, you have to restart Terminal. The permissions won’t kick in until you do. I’ve seen people in the Discord spend 45 minutes troubleshooting “permission denied” errors because they never closed and reopened Terminal.
On macOS Sequoia (15+), there’s an extra quirk. If you’re running headless and need screen control, you may also need to flip Screen Sharing on manually in System Settings > General > Sharing. The command line route alone falls short on Sequoia sometimes.
Step 4: Install the daemon
If you just want to test OpenClaw, you can run it in your terminal session. But for 24/7 operation on a Mac Mini, you want the daemon:
openclaw onboard --install-daemonThis puts the Gateway in as a background service. It survives terminal closures, restarts, and even sleeps (with the right energy settings). The Gateway is the backend engine — think of it as the brain that stays running. Any messaging apps or the macOS menu bar client just connect to it.
Running headless (no monitor)
Most people buying a Mac Mini for OpenClaw aren’t plugging in a monitor. They want a little server sitting on a shelf. So there’s one more thing you should know.
Get an HDMI dummy plug. It’s a $8-10 dongle you plug into the HDMI port. It tricks macOS into thinking a display is connected. Without it, macOS gets weird in headless mode. Screen Recording permissions can break, GUI apps won’t render right, and the screen capture OpenClaw relies on just fails.
Also tweak your energy settings:
- System Settings > Energy > Turn off display sleep
- Turn off hard disk sleep
- Enable Power Nap
- Check “Start up automatically after a power failure”
Those four settings are the difference between a Mac Mini that runs 24/7 and one that goes to sleep at 2am and stops responding to your Telegram messages.
Connecting messaging channels
This is the fun part. OpenClaw has no app of its own (well, there’s a menu bar client, but that’s not the point). You talk to it through your existing messaging apps.
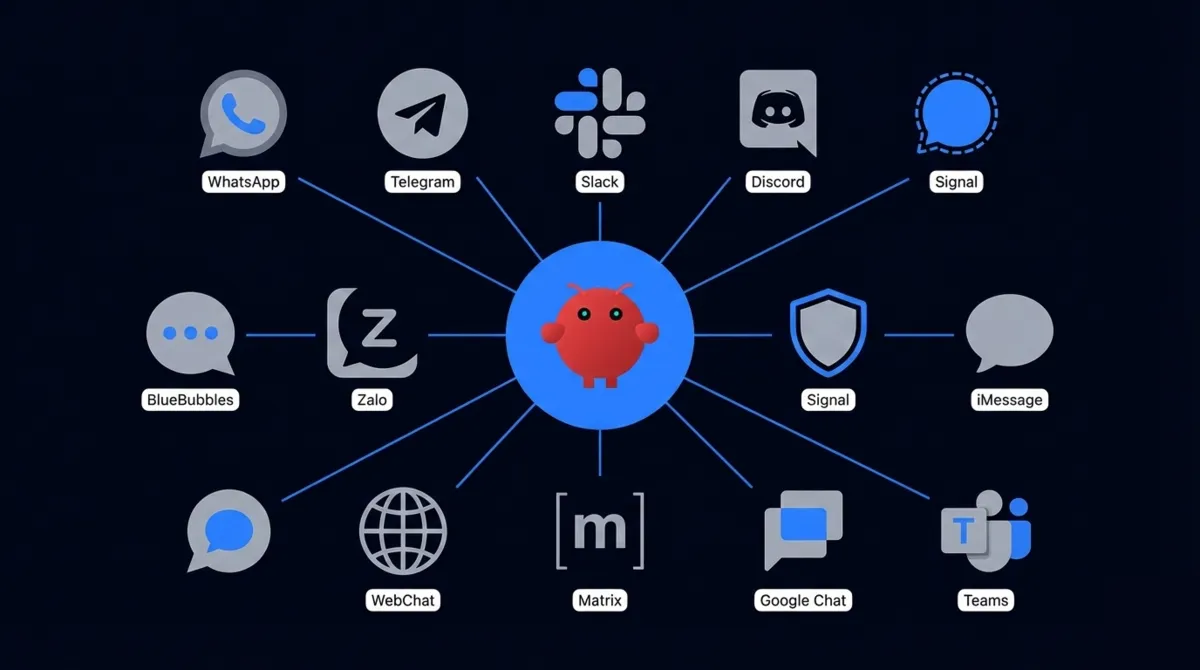
Supported channels: WhatsApp, Telegram, Slack, Discord, Google Chat, Signal, iMessage (via BlueBubbles), Microsoft Teams, Matrix, Zalo, and WebChat. Text works everywhere. Media support and reactions vary by channel.
Start with one channel. Get comfortable with how OpenClaw responds, how to give it tasks, how the permissions and file access work. Then add more channels once you figure out your workflow.
Each channel has its own guide in the docs at docs.openclaw.ai/channels/. Some are a single OAuth click (Slack, Discord). Others take more work (WhatsApp requires a bridge, iMessage needs BlueBubbles running on the same Mac).
A few things I learned the hard way
The sharp module issue. If you’re on Node.js v22.22.0 or later and the install blows up with a node-gyp error, that’s a known bug with the sharp image processing library. Downgrade to Node 22.21.x or check the GitHub issues for the latest workaround.
“command not found: openclaw” after install. Just restart your terminal. The PATH gets updated during install but your current session won’t pick it up.
Non-admin accounts and Homebrew. If you’re running OpenClaw on a standard (non-admin) macOS user for security reasons (smart move), install Homebrew dependencies from the admin account first. Then switch to the standard account and run openclaw doctor to verify everything works.
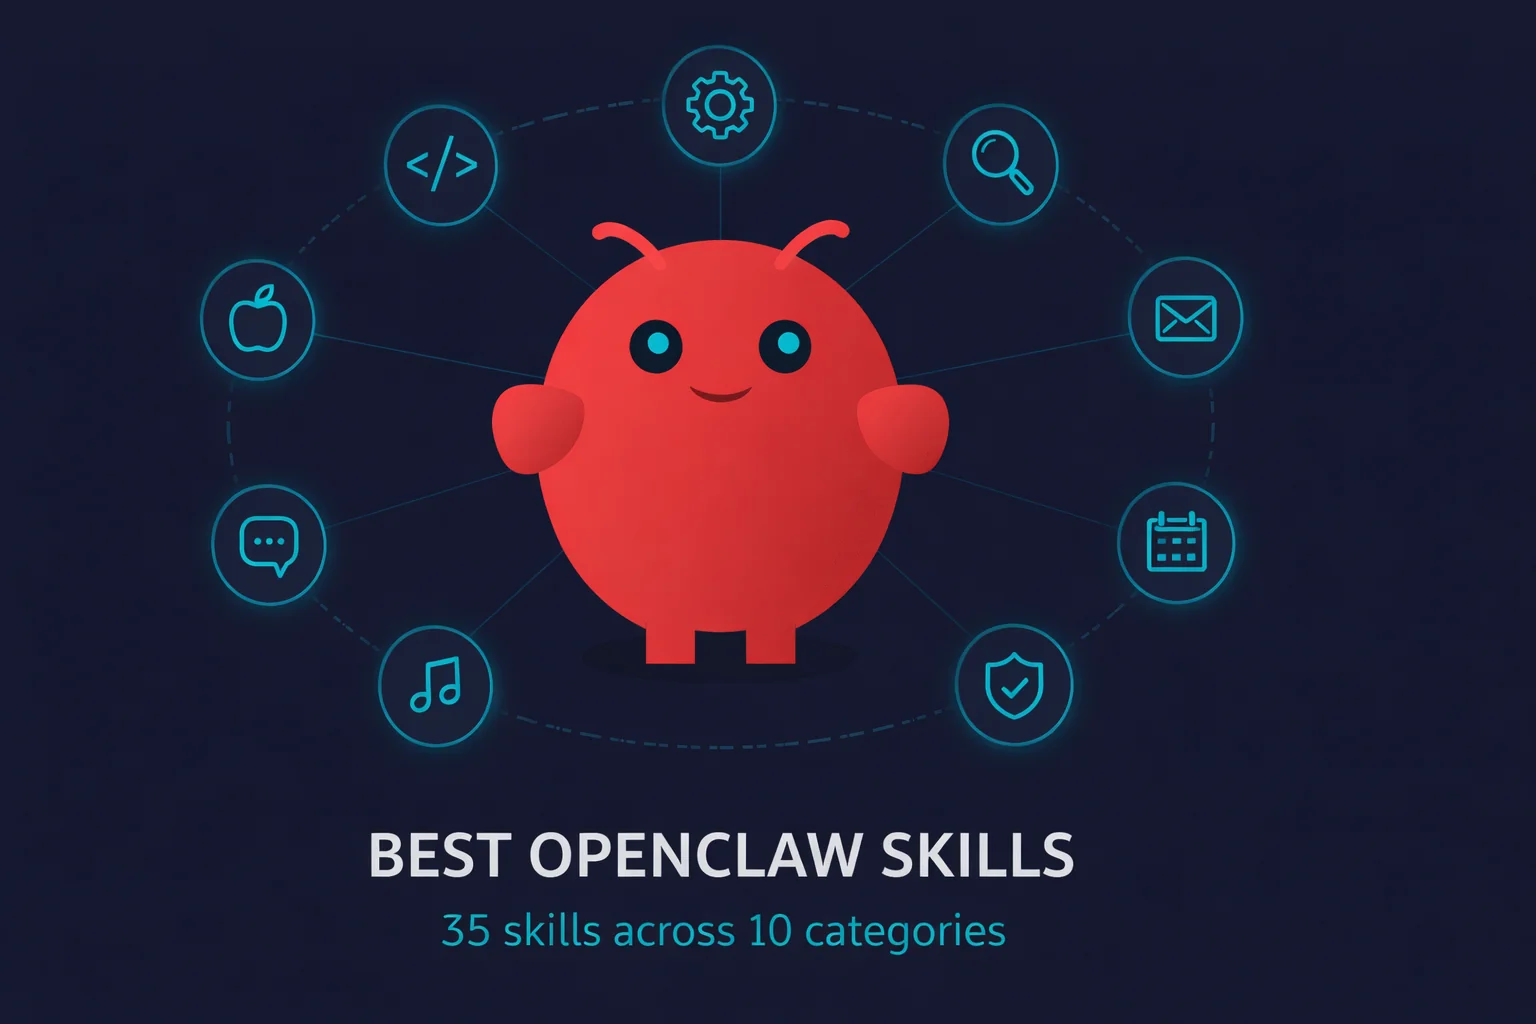
Start small. OpenClaw can do a lot. It writes code, browses the web, manages files, runs scheduled tasks, builds its own skills. You can even pair it with local AI tools like Whisper for transcription or DeepSeek for local inference. But pick one thing first. Send it a message asking about the weather. Have it summarize a PDF. Then go from there. The Discord (discord.gg/openclaw, about 13,000 members) is packed with workflow examples if you need ideas.
What’s next for OpenClaw
Peter Steinberger announced in February 2026 that he’s joining OpenAI to scale OpenClaw further. The project stays MIT-licensed and open source. If anything, that means more resources behind it, not fewer.
200,000+ GitHub stars in a few months. An active community shipping skills and extensions every day. And you can run the whole thing on a $600 Mac Mini sitting in your closet.
If you hit any snags, openclaw doctor catches most config issues. And the Discord (discord.gg/openclaw) is the fastest place to get unstuck.