
On this page
- ›How React Native iOS Development Works on Windows
- ›The Quickest Fix: Use a Cloud Mac from Rentamac.io
- ›Getting Your Development Setup Ready on Windows
- ›iOS Testing Without a Mac – The Expo Way
- ›Building iOS Apps with React Native and Xcode (using Rentamac.io)
- ›How to build iOS from Windows with Expo EAS Build (no local Mac)
- ›Automate iOS Builds Without a MacBook (CI/CD with Codemagic)
- ›Debugging and Testing iOS Apps on Windows (Using a Cloud Mac)
- ›Common Mistakes to Avoid When Building iOS Apps on Windows
- ›FAQs
Making cross-platform apps has become a lot easier with React Native. This framework lets developers write one set of JavaScript code and create apps for both Android and iOS. Whether you’re a solo developer or working in a startup, React Native can help speed up your mobile app development.
But there’s a small issue: iOS development needs Xcode, which only works on macOS. So if you’re using a Windows PC, building and testing iOS apps can be tricky.
The good news is that you can still make iOS apps with React Native on Windows without buying a Mac or setting up a complicated virtual machine. The easy fix is to use a real cloud-hosted Mac that’s all set up for development.
That’s where Rentamac.io is helpful. It provides quick remote access to actual Mac machines where you can install Xcode, allowing you to build, test, and deploy iOS apps straight from your Windows computer, on Apple’s own macOS and Xcode, with no workaround or hassle.
Can you do React Native iOS development on Windows?
Yes, for coding and live preview. You write and run the JavaScript on Windows and preview on a real iPhone with Expo Go. But the iOS build and the iOS Simulator need macOS. You reach macOS either through Expo EAS Build’s cloud or a rented Mac running Xcode 26 on macOS Tahoe.
How React Native iOS Development Works on Windows
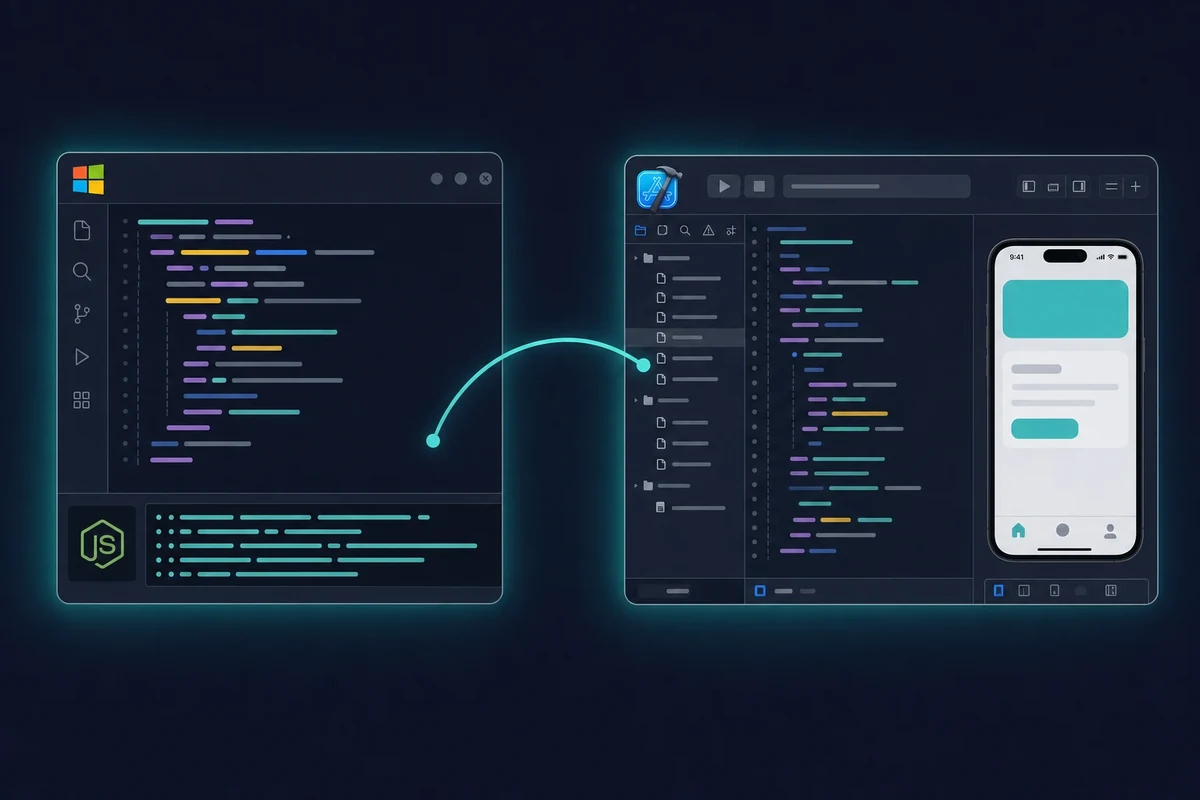
The work splits cleanly in two. On Windows you write the JavaScript, run the Metro bundler that serves your code to the app, and live-preview on a real iPhone with Expo Go. That whole loop runs fine without a Mac.
The other half needs macOS. The native iOS compile, the code-signing step, and the iOS Simulator all run only on a Mac. React Native iOS development still requires macOS and Xcode for the build, because Apple ships those tools only for the Mac.
So React Native supports both Windows and macOS as targets, but the iOS build is the one part that still needs a Mac. You write and preview on Windows, then reach macOS for the compile through one of several ways to develop iOS apps without a Mac, like a cloud Mac or a hosted build service.
So, what can you do?
Let’s look at some common ways developers get around this to build and test iOS apps using a Windows PC.
| Method | Pros | Cons |
| Expo CLI | Set up quickly and test live on iOS using Expo Go. | Just basic apps, no built-in modules. |
| Virtual Mac | Free of charge and complete control | Has some legal risks, isn’t very stable, and needs a bit of setup. |
| CI/CD (Codemagic) | Automated builds that can grow with your team. | Needs the right settings, but there’s no option for real-time debugging or a graphical user interface. |
| Cloud macOS (Rentamac.io) | Get a real Mac with Xcode already installed and ready to go. | Low cost, needs a reliable internet connection. |
The Quickest Fix: Use a Cloud Mac from Rentamac.io
If you’re serious about building for iOS but work on Windows, you need one thing above all: access to a real Mac. You can check out Rentamac.io instead of shelling out for Apple hardware or dealing with a tricky virtual machine.
Why a Cloud Mac Works Best
With Rentamac.io, you can instantly access real, dedicated Mac computers in the cloud. They come loaded with the latest macOS, Xcode, and the necessary tools. Here’s what you can do:
- Build iOS apps using React Native on Windows on a Mac that runs Apple’s own macOS and Xcode, no EULA workaround
- Test your iOS apps without needing a physical Mac on your desk
- Deploy to the App Store with a legit Apple Developer account
- Skip the hassle of setting up Hackintosh or virtual machines that tend to crash
Whether using Expo CLI for quick tests or full React Native CLI with custom code, your rented Mac will handle everything, from initial builds to final App Store launch. This setup gives you better pricing and less hassle compared with most cloud Mac rental services.
Getting Your Development Setup Ready on Windows
If you want to build an iOS app using React Native on Windows, you must prepare your development environment. The actual building for iOS will happen on a Mac (like the one you can rent from Rentamac.io), but you’ll do most of your coding on your Windows computer.
You’ll probably do most of your React Native coding on your Windows machine, but the real build will happen on a Mac remotely. This is a pretty common setup if you’re doing iOS development on Windows.
Step 1: Install Node.js and npm
React Native apps need Node.js to run and handle dependencies. Simply download it from nodejs.org (go for the LTS version).
Step 2: Start a React Native project
The old global react-native-cli package is now legacy, so you no longer install it with npm install -g. Instead, create a new project straight from the current CLI:
npx @react-native-community/cli@latest init MyiOSApp
That command scaffolds a fresh React Native app with the current toolchain. One thing to know: React Native 0.76 and later ship the New Architecture by default, and the framework is at around 0.83 as of late 2025, so a new project is already on the modern setup.
Step 3: Set up Expo (optional, good for beginners)
Expo makes development easier and lets you test basic iOS apps without a Mac using the Expo Go app. The standalone expo-cli is also retired, so you bootstrap an Expo project like this instead:
npx create-expo-app MyiOSApp
That builds an Expo-managed project. With Expo, you can run and preview your app on an iPhone by scanning a QR code, and you don’t need a Mac for that part.
Step 4: Pick a Code Editor
We suggest using Visual Studio Code with the “React Native Tools” extension. It’s great for debugging, offers IntelliSense, and works well with devices.
Step 5: Set Up Git and Link to Your Rented Mac
After everything is set up locally, push your code to GitHub or GitLab. On your rented Mac, clone your repo and keep building right in Xcode or the terminal.
iOS Testing Without a Mac – The Expo Way
If you’re new to app development or just want to test some features, Expo makes it easy to do iOS testing without a Mac, right from your Windows PC. Expo is a tool that works with React Native to build cross-platform apps faster, skip native-module setup, and preview on a real iPhone with the Expo Go app.
You can try out your iPhone app by scanning a QR code, no Xcode, no Mac, and no simulator needed. One point worth knowing: there is no Expo iOS Simulator on Windows, because the iOS Simulator needs macOS, so on Windows you preview on a real iPhone with Expo Go instead.
Getting Started with Expo
1. Create a new Expo app:
The retired expo-cli global is gone, so create the project with the current command:
npx create-expo-app my-ios-app
This scaffolds an Expo project ready to run.
2. Start your project:
cd my-ios-app
npx expo start
That command starts the Expo dev server and shows a QR code. Scan it with the Expo Go app on your iPhone and your app loads on the device, giving you a real iOS testing experience without a Mac.
If the QR scan does not connect over your local network, switch Expo to “tunnel” mode and scan again, which routes the connection through Expo and usually fixes a failed LAN scan.
It’s a good fit for early-stage builds or UI prototyping, especially if you’re exploring how to test iOS apps on Windows with minimal configuration.
Limitations of Expo
Expo is a great tool for beginners, but it does have some drawbacks:
| Pros | Cons |
| No need for a Mac for testing on iOS. | Cannot use custom native modules. |
| Quick setup | The app is larger because it has some built-in features. |
| Get updates in real-time and see changes right away. | Not much room for advanced features. |
Once you’re ready to go beyond these limitations, like publishing to the App Store or adding native modules, you’ll need Xcode and a Mac environment.
Building iOS Apps with React Native and Xcode (using Rentamac.io)
Once you’re ready to move past Expo and want to get into real native development, it’s time to use vanilla React Native. That means you’ll need Xcode and a Mac.
To build a React Native iOS app from Windows, the compile step still runs on a Mac, and here is the exact flow. With a cloud-based macOS machine from Rentamac.io, you can build iOS apps with React Native on a Windows PC in five steps.
1. Create a React Native Project on Windows
First, set up your project using the current CLI:
npx @react-native-community/cli@latest init my-ios-app
That command scaffolds the project. Then push it to a Git repo like GitHub or GitLab.
2. Access Your Mac via Rentamac.io
Log into your rented Mac using DeskIn, the remote tool that comes pre-installed on the machine. Now, clone your repository:
git clone
3. Install CocoaPods and Dependencies
In the Mac terminal, run:
cd ios
pod install
4. Open the Project in Xcode
Launch my-ios-app.xcworkspace in Xcode.
Set your Bundle Identifier, connect your Apple Developer account, and adjust your signing and team settings in the “Signing & Capabilities” tab.
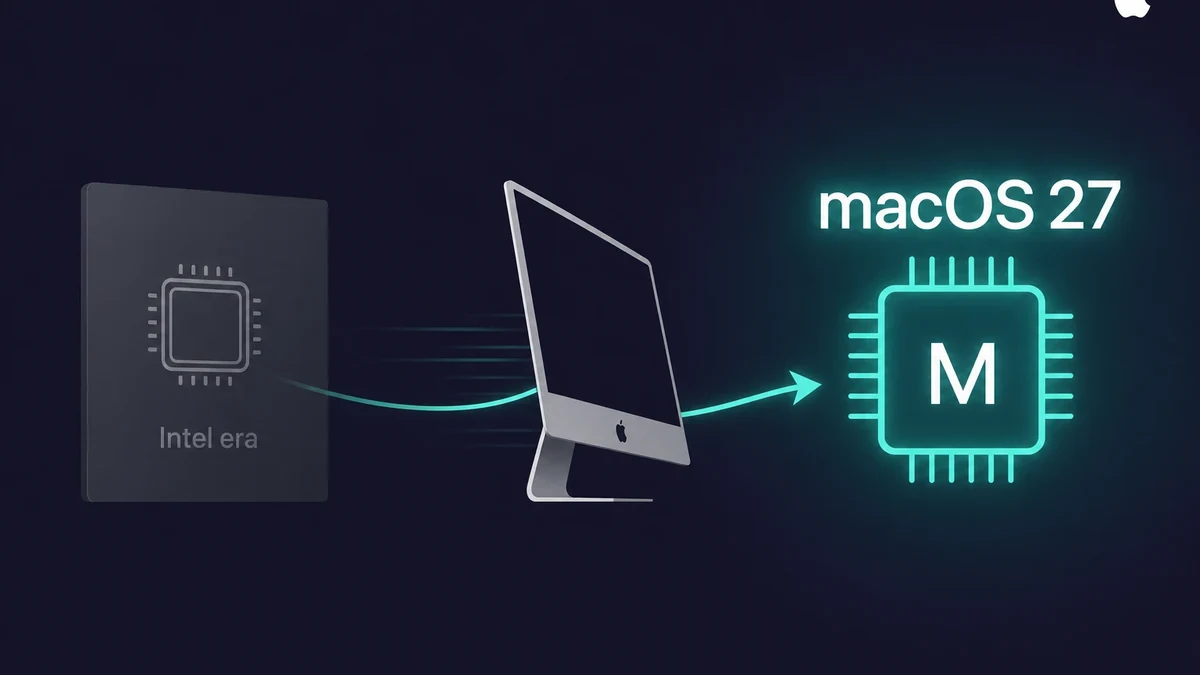
Make sure you are on a current Xcode. Xcode 26 (patch 26.5, released May 11, 2026) is mandatory for App Store uploads as of April 28, 2026, and Xcode 26.4 needs macOS Tahoe 26.2 or later.
A rented Mac Mini M4 already runs macOS Tahoe 26.4, so it clears that bar out of the box. If you need to install the IDE yourself, see how to get Xcode on Windows through a rented Mac.
5. Run the iOS App
You can either run this from the terminal:
npx react-native run-ios
Or just hit the Run button in Xcode to start your app in the iOS simulator. To run a React Native app on an iOS device instead, plug the iPhone into your rented Mac, select it in Xcode, and run it from there.
How to build iOS from Windows with Expo EAS Build (no local Mac)
Expo EAS Build compiles and signs your iOS app on Expo’s cloud macOS machines, so you can trigger a real iOS build straight from Windows. EAS Submit then uploads that build to the App Store from your Windows terminal. You still need a $99 per year Apple Developer account, but no Mac on your desk.
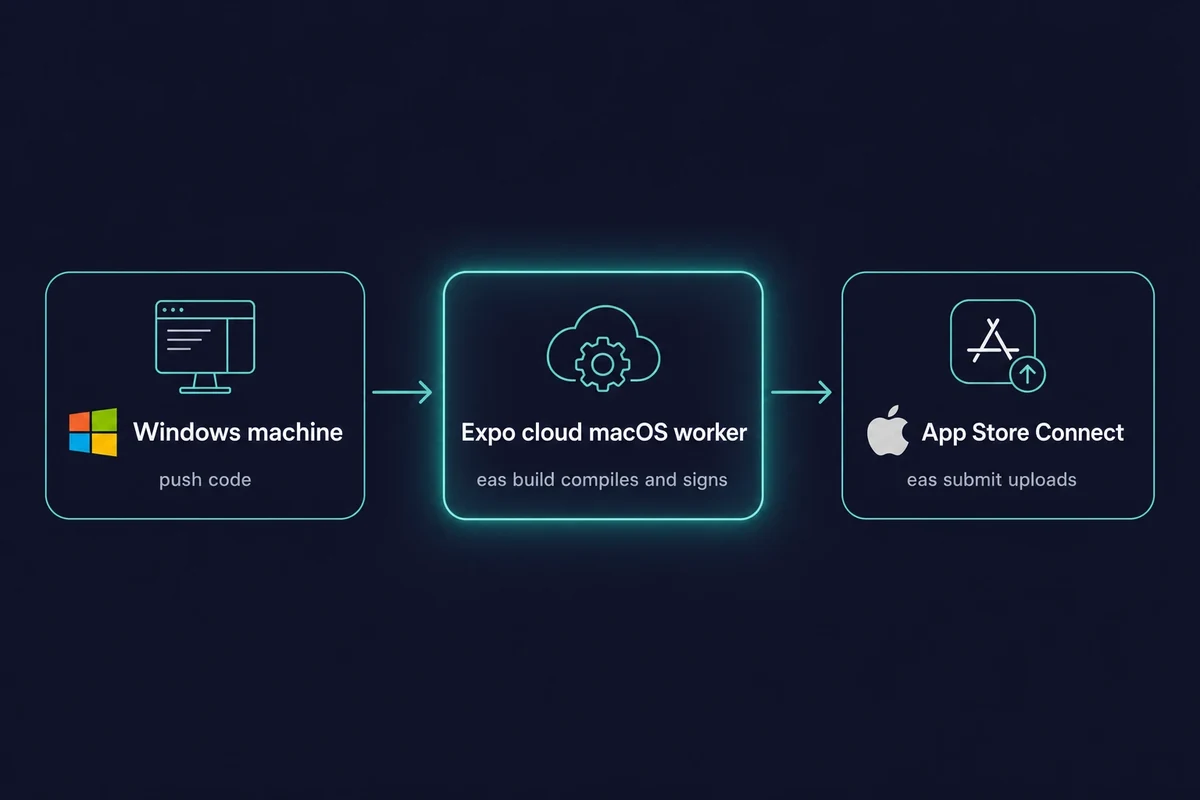
The eas build --platform ios command runs the compile and sign step on Expo’s hosted macOS workers, so the sign step (which needs an Apple-issued certificate) happens in the cloud. The free tier gives you 15 iOS builds per month on a low-priority queue, with a 45-minute timeout per build.
The eas submit --platform ios command then uploads the finished build to App Store Connect from Windows or Linux, since the macOS-only upload runs on Expo’s cloud. Either way, the $99 per year Apple Developer membership is still required.
So when do you reach for EAS, and when for a rented Mac? They work well together rather than competing.
| What you need | Expo EAS Build | A rented Mac (Rentamac.io) |
|---|---|---|
| Where the build runs | Expo’s cloud macOS workers | Your own dedicated Mac Mini M4 |
| iOS Simulator | Not available | Yes, full Xcode Simulator |
| Native debugging | Limited | Full Xcode debugging |
| Live device testing | Via Expo Go only | Plug an iPhone into the Mac |
| App Store submit | eas submit from Windows | Upload from the Mac |
| Free tier | 15 iOS builds/month, 45-min timeout | No free tier, from $15/day |
Pick EAS Build for hands-off cloud builds and submission with no machine to manage. Pick a rented Mac when you need the iOS Simulator, native debugging, live device testing, or full control.
Neither one skips a Mac for free: the build always runs on macOS somewhere, on Expo’s worker or on the Mac you rent. One real limit: the iOS Simulator cannot run on Windows because it needs macOS, so on Windows you live-preview on a real iPhone through Expo Go and reach a full Simulator only on a Mac.
Automate iOS Builds Without a MacBook (CI/CD with Codemagic)
Codemagic is a CI/CD tool designed for mobile developers that can take care of the whole iOS app process, from building and signing to putting it on the App Store.
If you’re working with React Native on Windows, you can still get your iOS apps up and running by using Codemagic and a cloud Mac service like Rentamac.io or just using Codemagic’s hosted Macs. If you prefer to stay inside the Expo toolchain, Expo EAS Build (covered above) is the modern hosted-build alternative that compiles and submits from Windows without a separate CI service.
Why Combine Codemagic with a Cloud Mac?
- A cloud Mac – Great for real-time development and testing.
- Codemagic – Great for automating the builds and App Store uploads.
Together, they give you a smooth workflow: build your iOS app with React Native on Windows, test it through your rented Mac, and deploy it with Codemagic.
How It Works
1. Push your React Native project to GitHub or GitLab.
2. Create a Codemagic account and link your repo.
3. Add a codemagic.yaml file to set up your build and signing process.
4. Keep your Apple Developer credentials safe in Codemagic.
5. Start a new build with a click, or set it to run with every code change.
Codemagic can securely store your certificates and keys, handling the signing part automatically.
Here’s a simple codemagic.yaml example:
workflows:
react-native-ios:
name: ios-build
instance_type: mac_mini
environment:
vars:
BUNDLE_ID: “com.yourcompany.app”
scripts:
- npm install
- cd ios && pod install
- xcode-project build-ipa –workspace ios/YourApp.xcworkspace –scheme YourApp
artifacts:
- build/ios/ipa/*.ipa
When to Use Codemagic:
- Deploying to the App Store or TestFlight.
- Managing different environments, like staging and production.
- Running automated tests on various versions and devices.
Codemagic is all about saving time, not replacing your Mac. And with a rented Mac, you can do iOS testing without a MacBook while getting automated builds.
Debugging and Testing iOS Apps on Windows (Using a Cloud Mac)
After your app builds without issues, the next step is testing and debugging. For iOS apps, you usually need Xcode’s Simulator or a physical iPhone, which means, again, you’ll need a Mac.
But with a rented Mac, you can test your iOS apps from your Windows machine without a MacBook.
Test Like You’re on a Local Mac
When you rent a cloud Mac, you can:
- Run your app in the iOS Simulator
- Test on various iPhone models and iOS versions
- Use Xcode’s tools to fix any native-level problems
- Connect to a real iPhone if you need to
Whether you’re checking UI layouts, network performance, or crashes, Xcode on your rented Mac gives you everything necessary, all from Windows.
Key Debugging Tools
Here are some tools you can use:
- Xcode Debugger – Check variables, set breakpoints, and monitor memory
- React DevTools – Look at the component tree, and debug state and props
- Chrome DevTools – Check console logs, network requests, and JS errors
- React Native DevTools – Inspect components, console, and network; this is the default debugger since React Native 0.76 and it replaced Flipper, which was removed from React Native back in 0.74
You can access all these tools while connected to your cloud Mac for a solid debugging experience.
Tips for Smooth iOS Testing from Windows
- Always test in Release mode to get accurate performance data
- Use different simulators to cover all scenarios (for example, iPhone SE vs. iPhone 14 Pro Max)
- If you’re using Expo, try testing with Expo Go for simple cases, but always check the final behavior on Xcode.
Common Mistakes to Avoid When Building iOS Apps on Windows
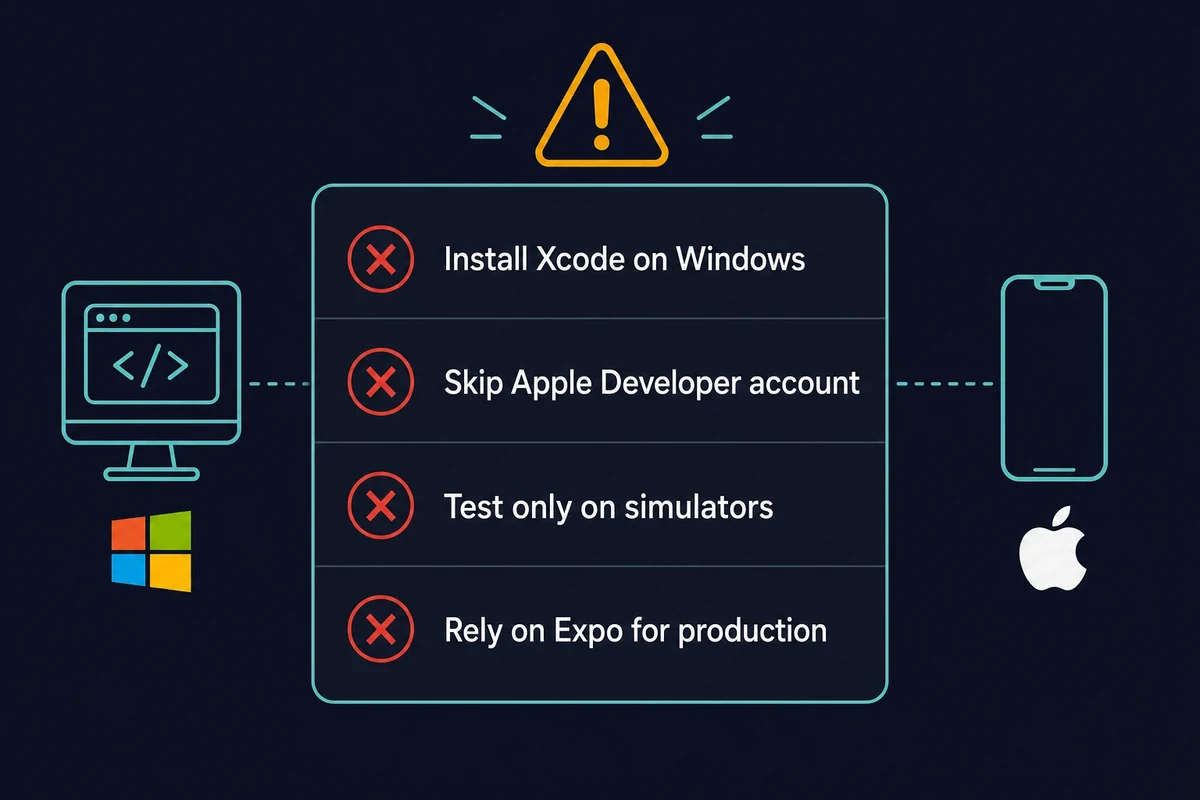
When building iOS apps with React Native on Windows, you might encounter some common issues, especially if you’re looking for quick fixes. Here are a few mistakes that can waste your time, cause issues, or even keep your app off the App Store:
1. Attempting to Install Xcode on Windows
You can’t reliably install Xcode on Windows because of Apple’s licensing rules and how their system is set up. Even virtual machines or Hackintosh setups, while sometimes used to simulate iOS on Windows, often lag horribly, or fail to support the latest SDKs.
Instead: Go for a cloud-based Mac that runs Apple’s own macOS and Xcode, no workaround needed.
2. Relying Too Much on Expo for Production
Expo is great for quick testing and iOS development without a Mac, but it’s not designed for complex production-level apps. You might encounter limitations if you need custom native features or specific third-party tools.
Instead: Start with Expo, but when you’re ready to scale, switch to plain React Native using Xcode on your rented Mac.
3. Skipping Testing on Real Devices
Only testing on emulators means you miss out on real-life issues like touch interactions, GPS, camera access, or the app’s performance on actual hardware.
Instead: With a rented Mac, you can test your app directly on an iPhone or run thorough simulator tests in Xcode.
4. Overlooking Apple Developer Account Needs
You need an Apple Developer account to get your app on the App Store or even run it on a real device. The membership costs $99 per year, and you must have proper signing, provisioning profiles, and certificates.
If you’re a Swift developer who doesn’t use React Native, you can still do Swift development on Windows. Just rent a Mac, just like you might do with React Native.
Instead: Set this up early. Keep your credentials secure on your rented Mac or use CI/CD tools like Codemagic.
FAQs
1. Can I build iOS apps with React Native on Windows? Yes, you can write your code on Windows. But since Xcode is only available on macOS, you’ll need to rent a cloud Mac from Rentamac.io for the final builds and to run your app. 2. Can I test iOS apps without a Mac? You can check basic features using Expo Go on a real iPhone. For complete testing with the simulator, native debugging, and App Store submissions, you’ll need access to a macOS system. 3. Do I still need an Apple Developer account? Yes, you still need an Apple Developer account. You’ll have to get one if you want to run apps on actual iOS devices or put them on the App Store. 4. How do I test a React Native iOS app on Windows? Live-preview on a real iPhone with Expo Go by scanning the QR code from the Expo dev server. For the iOS Simulator, native debugging, and crash testing you need macOS, which you reach on a rented Mac running Xcode. 5. Why does React Native say iOS builds require macOS and Xcode? Apple ships Xcode and the iOS build toolchain only for macOS, so the compile and sign step always runs on a Mac. That Mac is either Expo EAS Build’s cloud macOS worker or a rented Mac you control. 6. Can I submit my iOS app to the App Store from Windows? Yes. You can use eas submit (the macOS-only upload runs on Expo’s cloud) or upload from a rented Mac. Either way you need the $99 per year Apple Developer account.